![]() The Content widget allows you to add text, font styles, links, tables, and more. It gives you total control over the content, sizing, of content area, and location in your TabSite Drag N Build app and is available at all plan levels.
The Content widget allows you to add text, font styles, links, tables, and more. It gives you total control over the content, sizing, of content area, and location in your TabSite Drag N Build app and is available at all plan levels.
Just drag the Content Widget (Shown above) from the widgets menu in your TabSite Manager when in the Drag N Build App onto your custom app area. Once the widget has been placed on your app, it will open up the WYSIWYG editor seen below and you will be able to start adding your content.
You can adjust font color, styles, etc. using the CMS tools.
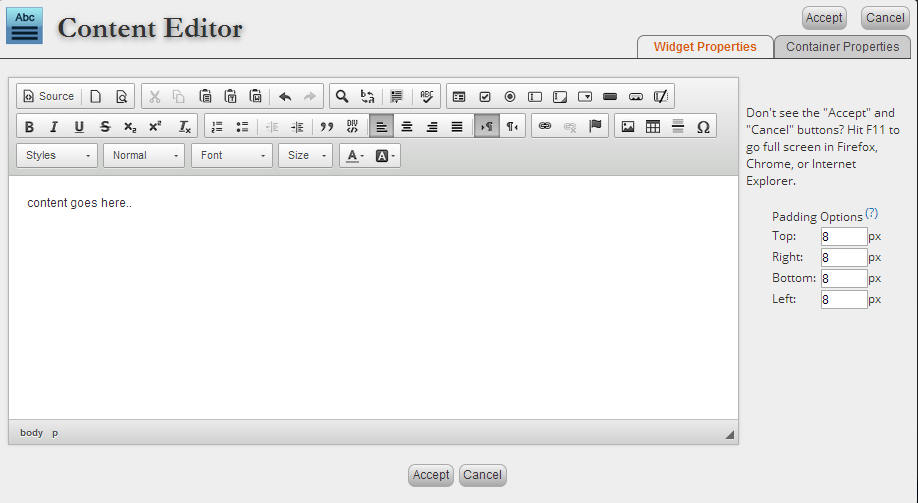
On the right side of the Content Editor is where you can adjust the Padding Options. The default is 8 pixels all around. The padding appears within the widget.
You can manipulate the appearance of the Content Editor widget by clicking on the Container Properties tab in the upper right-hand corner.

From here you can change the default font color, link color, heading color, and background color. Please be sure to un-check the Transparent box if you choose to use a background color.
Another option available in the Container Properties is adding a Background image. To do so, check the box next to Use Background Image and drag the image that you want to use to the Drag To Upload area. There are options to set the Horizontal and Vertical positioning, along with the ability to have the image repeat.

EDITING A PREVIOUSLY CREATED CONTENT WIDGET: To edit the content that you have previously added to your TabSite, right click on your Content, and click on edit. This will bring up your editor again.
You can also go to the "Layers" tab in the TabSite Manager below "Widgets" and click the Edit link next to the Content Widget you want to edit.
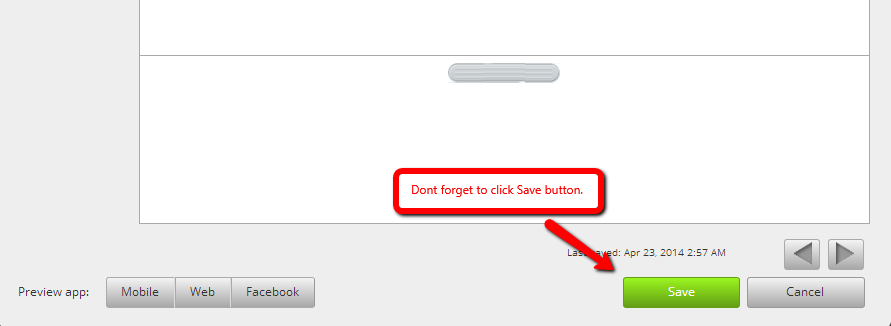
After creating your widgets and settings. Don't forget to click Save.
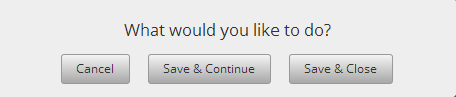
This window will appear. Just choose Save & Continue to save what you are doing and keep working, or Save and Close, and click Okay for the succeeding windows.

Type your Page Name and click Save.