Capture Email addresses with this easy-to-build App for Facebook and the web. All TabSite users from free plans on up have access to embed the email sign-up code offered from Constant Contact, Delivra, and Mail Chimp.
At the Platinum Plan level, any e-mail software sign-up form embed code can be used including Aweber, Vertical Response, iContact, Salesforce.com and more.
Where do I get my embed code? Note specifics for these providers that we support:
Constant Contact instructions Mail Chimp Instructions Delivra Instructions
Can't find your email provider? With our Gold and above plans you can embed from any service including Aweber, iContact, Salesforce, and more. Simply use their web embed code.
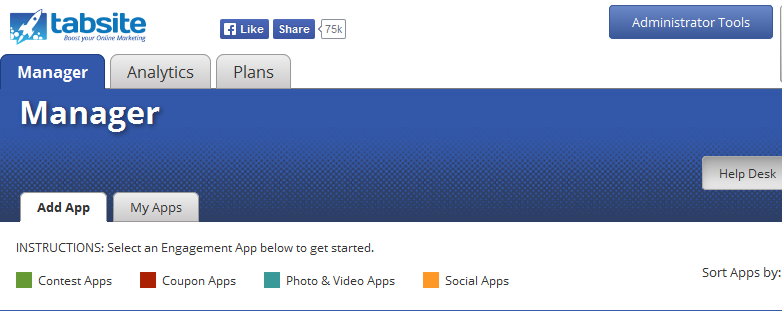
To start with, click the Manager Section and choose the Add App tab:
Then, scroll down the page until you reach the Social Apps section. This is where the Email Sign-Up Add is located:
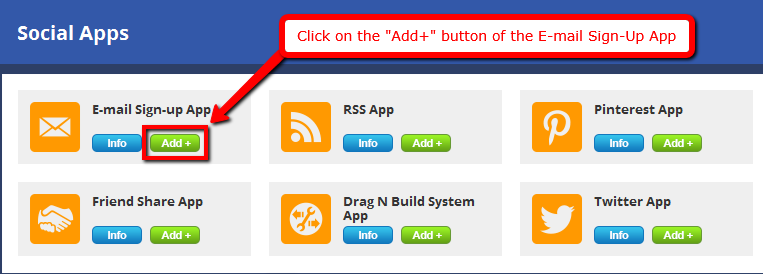
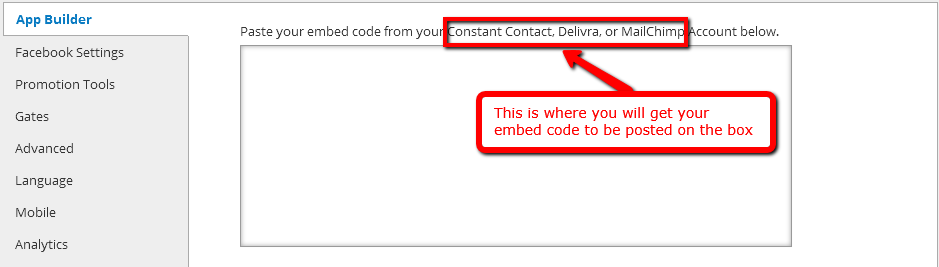
After clicking the Add+ button, the page will load and forward you to the first section of the settings page, the App Builder. It will then prompt you to embed a code from your Constant Contact, MailChimp or Delivra Account on the box provided on the page:
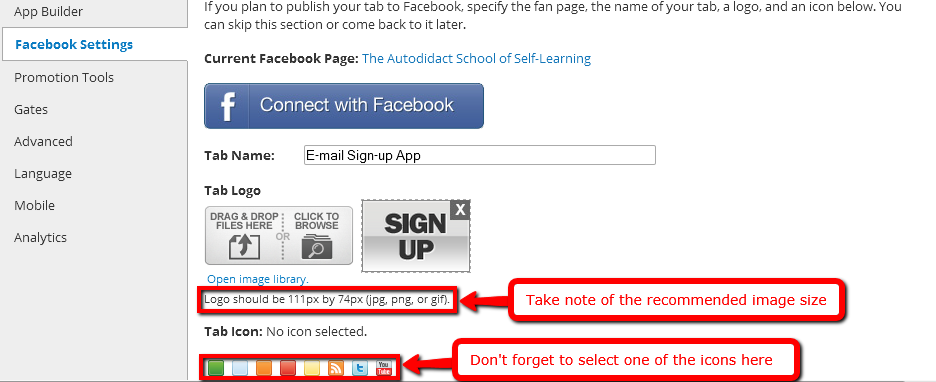
You can customize the Facebook settings if you would like your app to be published to Facebook on a tab. All you have to do is specify your fan page, tab name, 111 x 74 logo of your tab app beneath:
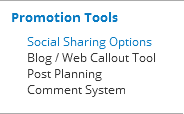
The Promotion Tools is the third one in the list of settings that enables you to get ready for app sharing. It consists of four sub-settings specifically Social Sharing Options, Blog/Web Callout Tool, Post Planning and Comment System:
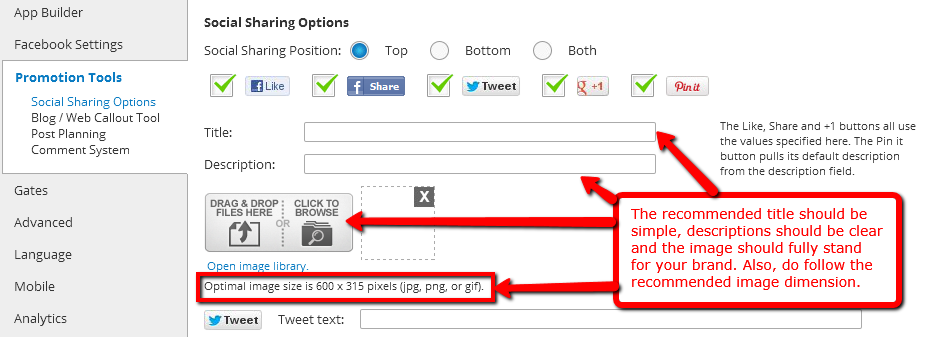
The first sub-setting in the list of the Promotion Tools is the Social Sharing Options. In this section, you can share the app to various social media networks such as Facebook, Twitter, Google+ and Pinterest. It is up to you whether where you want to place the app, may it be located at the top, bottom or both.
As a Page Admin, you have the power to take over the Share message of Facebook, pre-populate the ideal number of tweets and sharing using Google+. Simply fill in the title and description fields, upload an image with the mentioned size of 600 x 315 pixels. This custom photo will be used to the social networks you have chosen above:
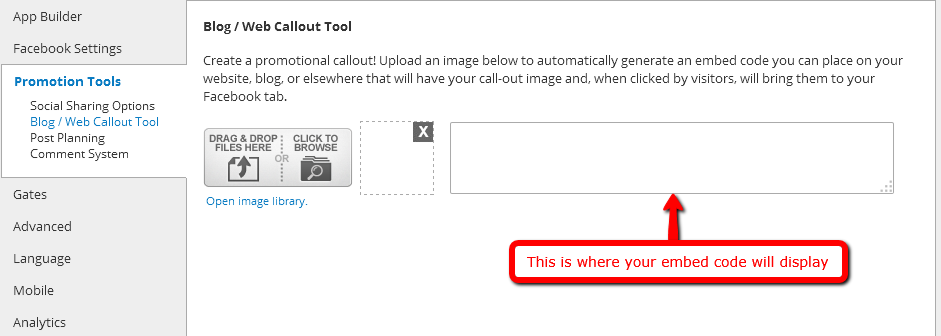
In a form of an automatically-generated embed code, you can produce your own promotional call-out using the Blog/Web Callout Tool. You can place this code to either your own site/blog or to other websites. When visitors click this, they will be directed to your Facebook page on a tab:
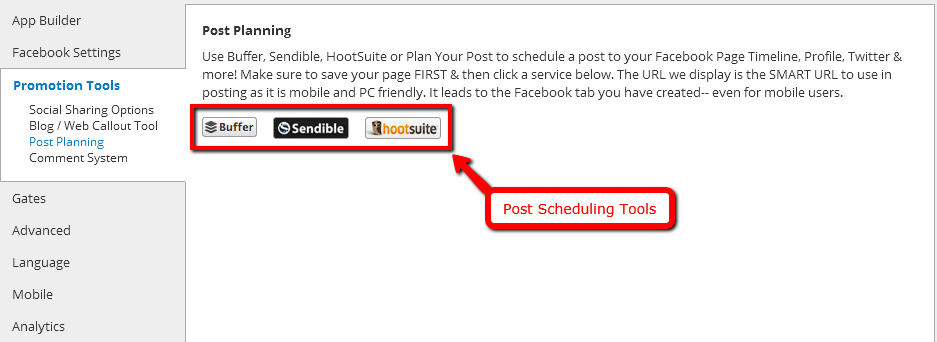
The third sub-setting of the Promotion Tools is the Post Planning. You are able to schedule posts to various social media networks by the use of either one of these services: Hootsuite, Sendible or Buffer. The SMART URL is the provided url for display since it is mobile and PC-responsive. It directs to the tab you have made in Facebook - even for users of mobile devices:
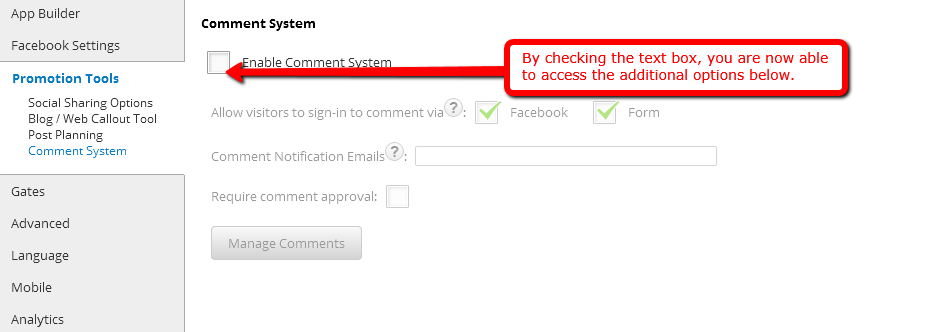
The fourth sub-setting of the Promotion Tools is the Comment System. This setting can be optional since you need to tick first the Enable Comment System check box. Once checked, the others options will now display on the screen. These options comprise the following: "Allow visitors to sign-in to comment via Facebook or Form", "Comment Notification Emails" and "Require Comment Approval." Click the Manage Comments button underneath these options:
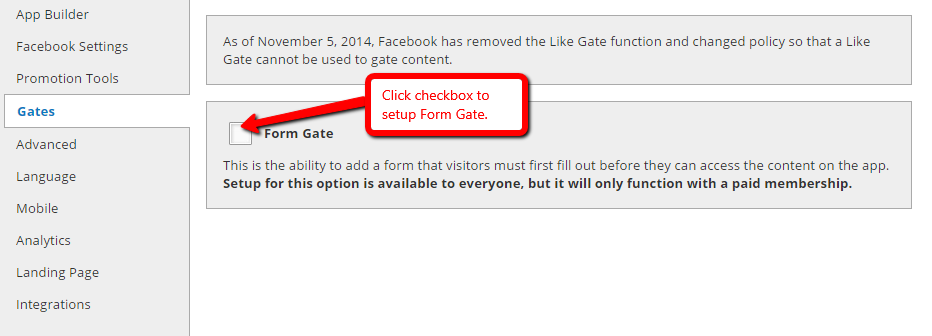
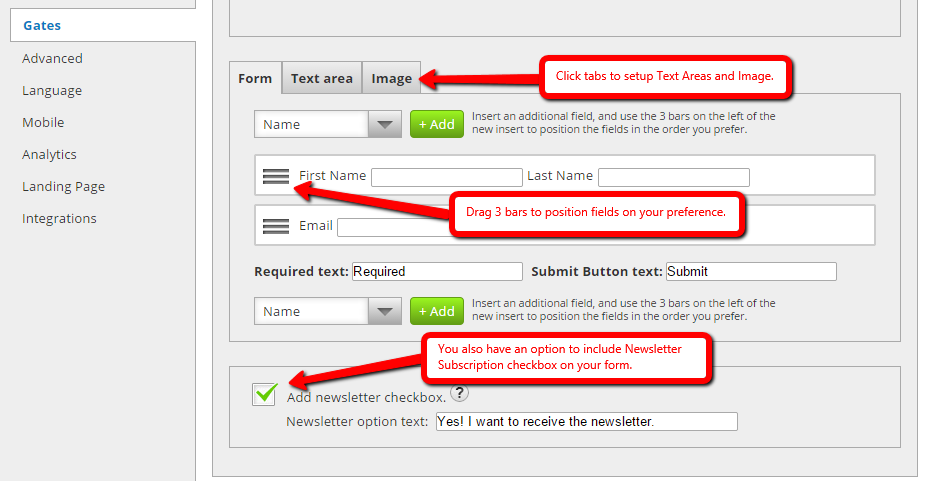
Form Gate is a simple form that users must complete and submit in order to access your app content.

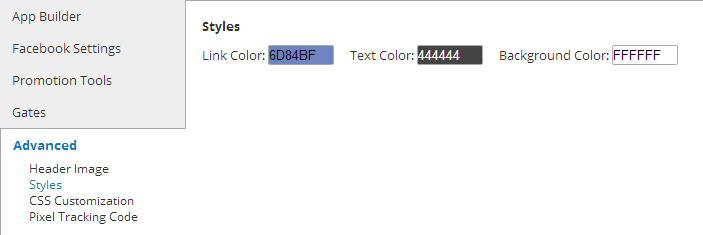
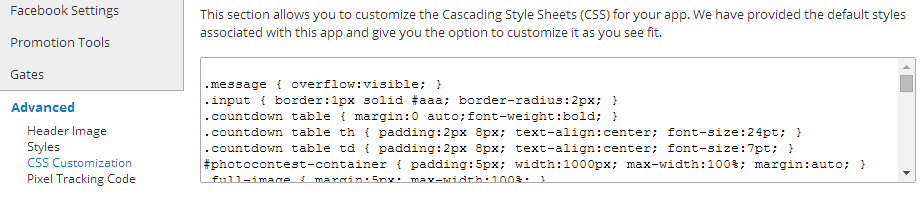
The Advanced setting is the fifth one in the list. In this area, you are enable to upload an image for the header, customize the color of the link, color of the text and the color of the background. The CSS of your app can be customized as well by the offered default styles linked to it:
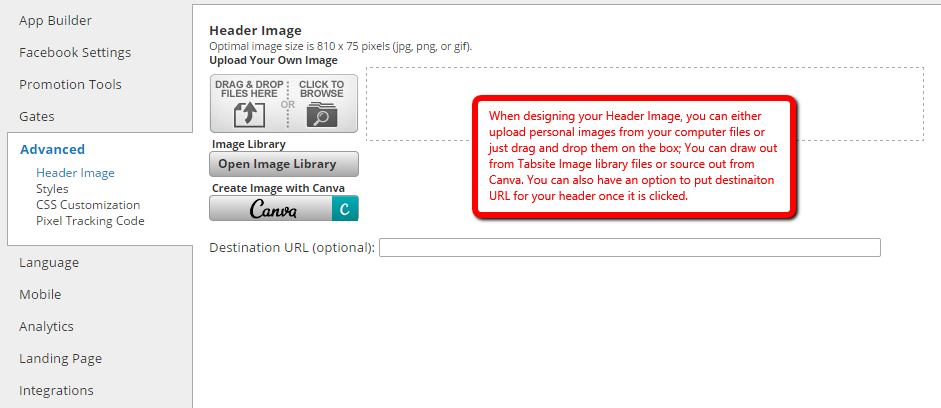
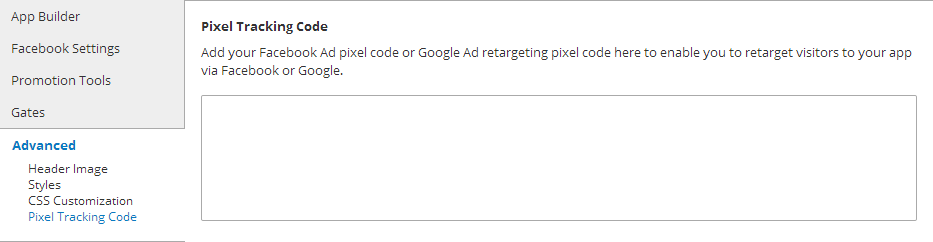
Another feature to help you with marketing is to implement remarketing pixels! We have a Pixel Tracking code area for Facebook and/ or Google Ads. By installing the pixel code from those services, you are then able to target visitors to your promotion back on that service with ads. Simply paste the pixel tracking code that they provide.
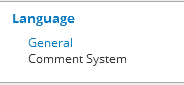
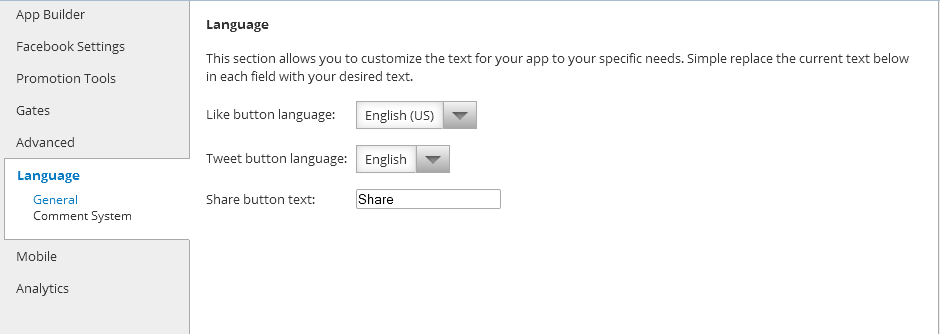
The Language section has two sub-settings composed of General and Comment System:
The first sub-setting for the Language section is called General. It has two options with drop-down menus namely Like button language and Tweet button language. The default language is English but you can change it with your preferred language that you'll use for your social media platforms from the drop-down list. Below these drop-down menus is a blank field that lets you enter in the message you would like to display in your Share button:
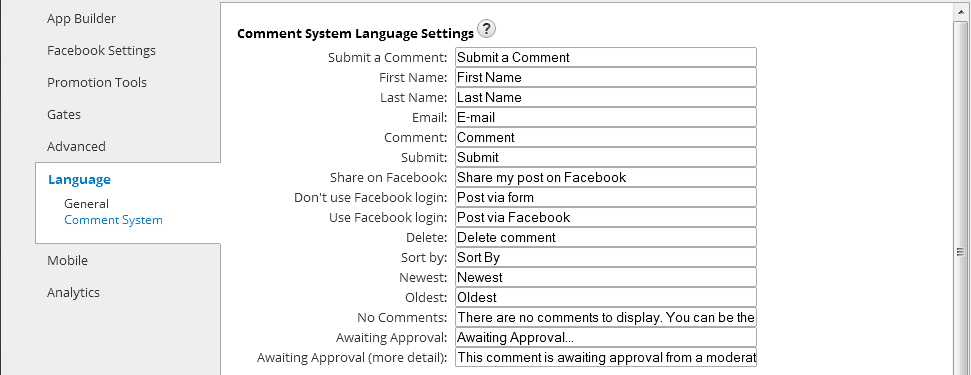
In the Comment System sub-setting, you can enter in the input information on the blank fields for the messages that you want to display for your comment system. There are two sections for this sub-setting, the first being the Comment System Language Settings and the second one for the Errors:

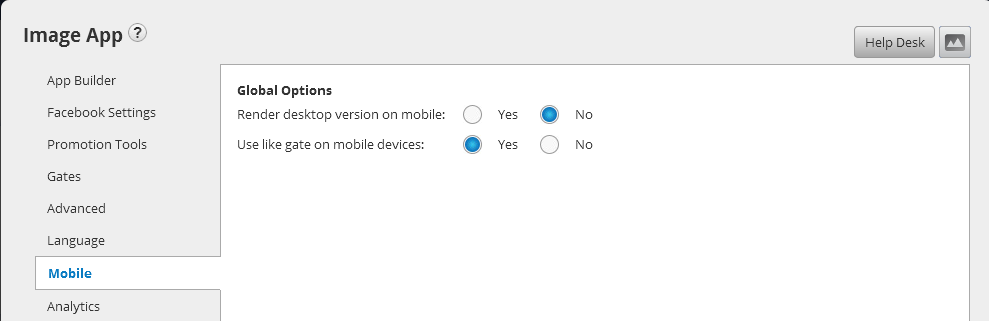
The Mobile setting is the seventh section in the Email Sign-Up App settings. It comprise of two Global Options: "Render desktop version on mobile" and "Use like gate on mobile devices." It enables mobile users to use the app content responsively to their devices or show the similar information. Note: Mobile difference is not applicable to all apps:
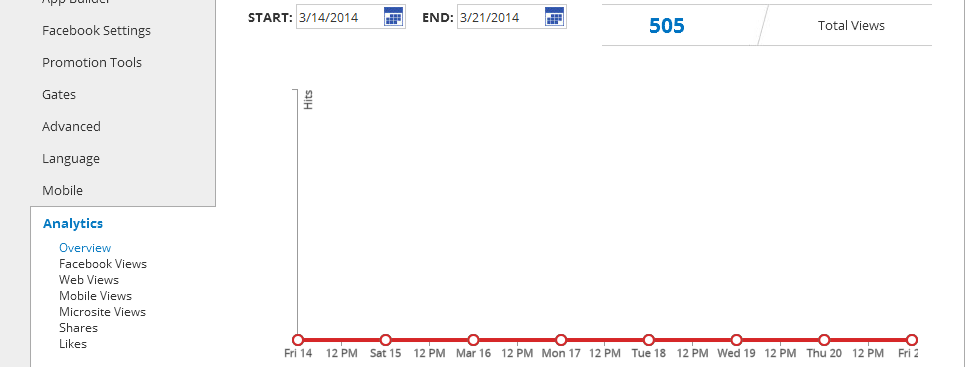
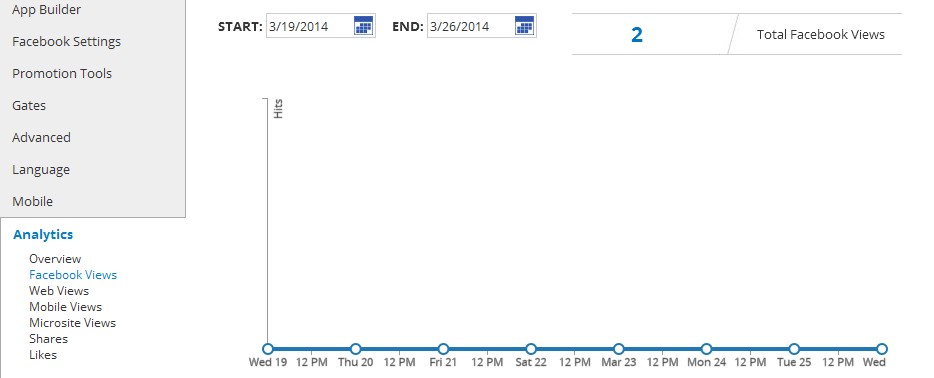
The eight and final setting for the Email Sign-Up App is Analytics. It provides you information on what time and day the app traffic performs better or not. It has various graph representations with the following categories: Overview, Facebook Views, Web Views, Mobile Views, Microsite Views, Shares and Likes.
This is how the graph of the Overview section displays on the screen:
This is how the graphs of the Facebook Views, Web Views, Mobile Views and Microsite Views look like:
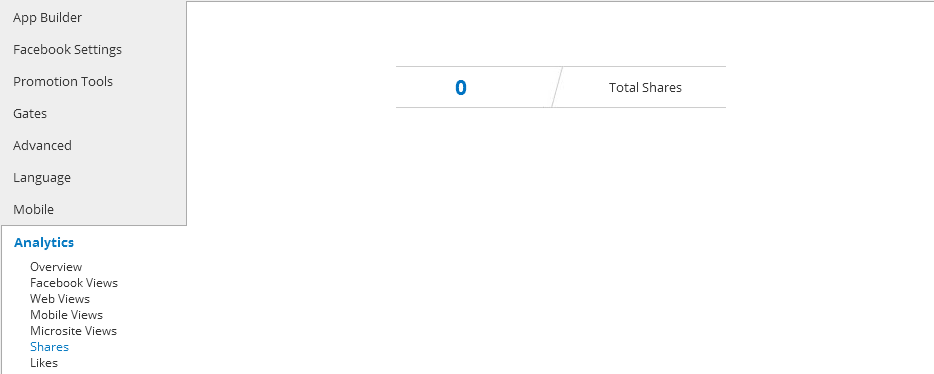
This is how the graphs of Shares and Likes look like when displayed on the screen
Landing Pages are a powerful feature allowing you to create lead capture pages using any app.
Create your own landing page directory name for your use on any landing pages. You create a name specific to your business such as https://tabsite.com/mybusiness/summerpromo(where "mybusiness" is your business name and the landing page is "summerpromo".)
Landing pages are the perfect area to drive traffic to in order to create more leads. Any app can have a Landing Page.
You may also change the title and header font color.

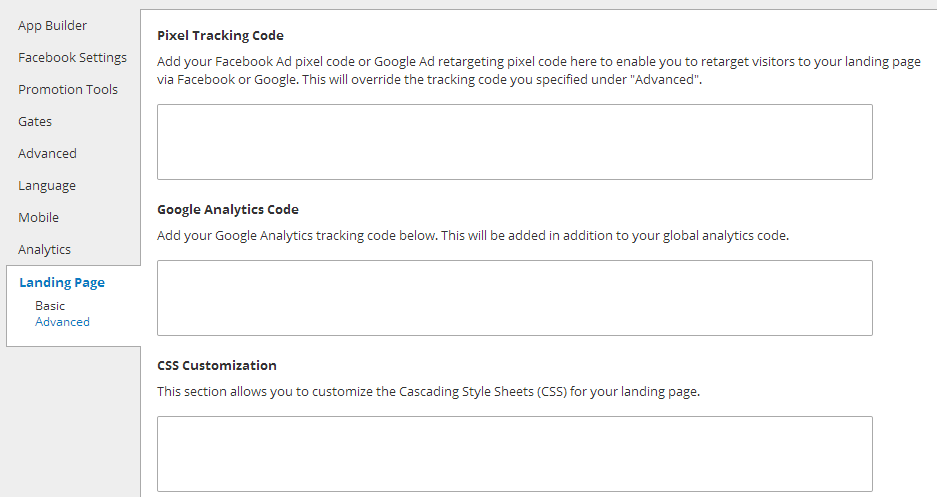
We give you the option to place the Pixel Tracking code for Facebook Ad's and/or Google Ad's on your landing page. This allows you to retarget/remarket to visitors via ads on those services.
In addition, we also offer CSS control for advanced styling of your Landing page as well to use if desired.
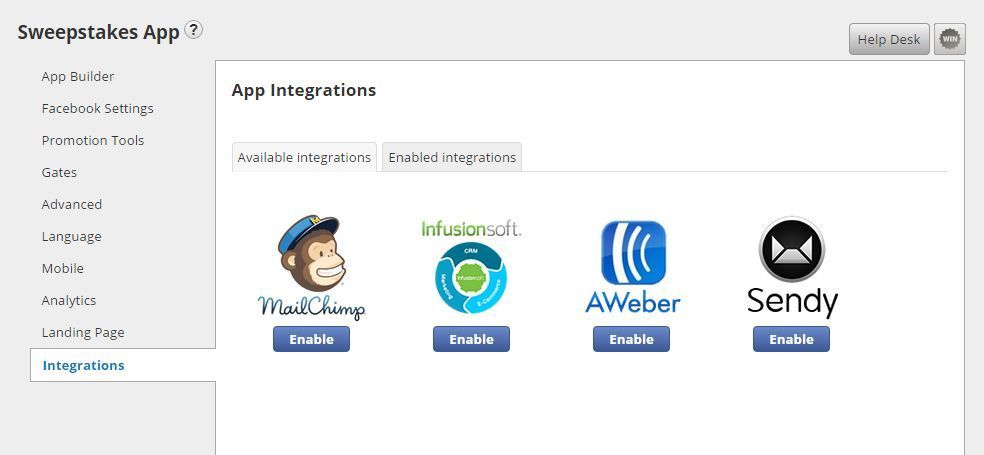
Integrations:
The "Integrations" area offers options for connecting forms to other services like Mailchimp, Infusionsoft, AWeber and Sendy.
See full details on the Mailchimp integrations here with steps for setup so that your form data is automatically added to your service provider.
See full details on the Infusionsoft integrations here
See full details on the AWeber integrations here
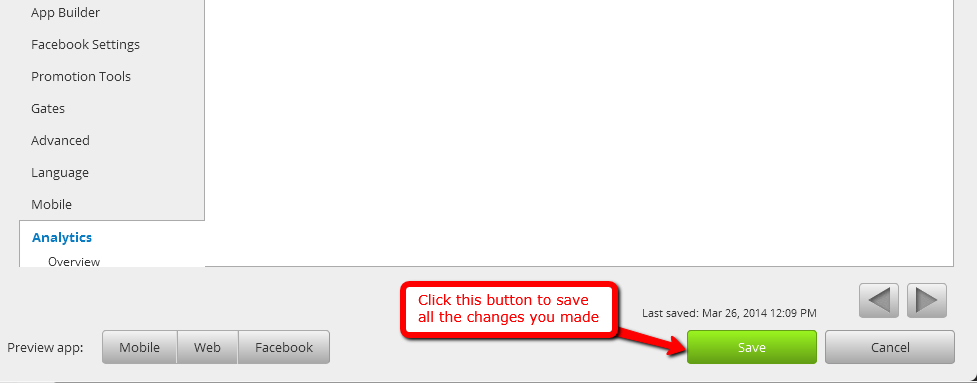
When you are finally through with all the changes, you can save all the settings by clicking the green "Save" button positioned at the bottom-right corner of the page.
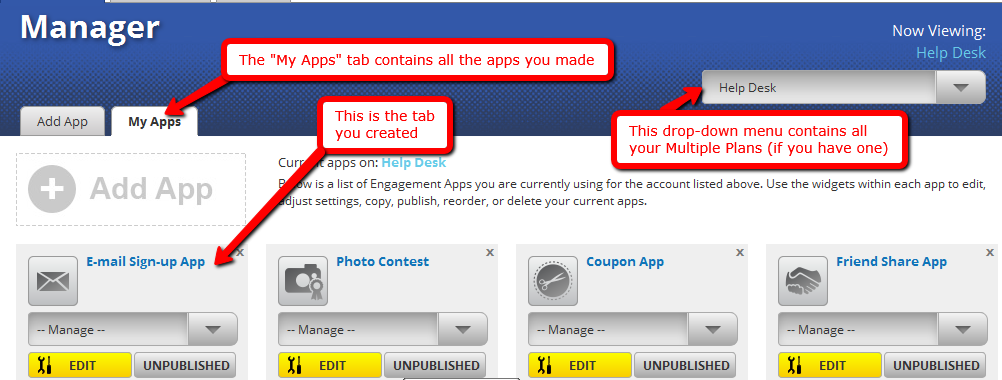
You will be directed to the My Apps area after you press the "Save" button. All the apps you have created can be found here. In line with your Plan Features, you can simply create, test and publish the apps.
To implement the details of publishing the app to different social networks, simply click "Publish."