Tabsite offers a wide array of widgets and tools to enable powerful and easy customization of Facebook fan page tabs!
With Drag N Build tabs you can drag and drop to build a completely custom design.
TabSite also offers Drag N Build templates and a full array of tools such as Sweepstakes, RSS embed, YouTube Channel embedding to Google Map integration and more. See Widgets and Details.
Each plan option of TabSite offers different features. A Full breakdown of what widgets and features come with each TabSite Plan is outlined on our TabSite Features page.
To use widgets, you must select to add a "Drag N Build" tab when creating a new Tab.
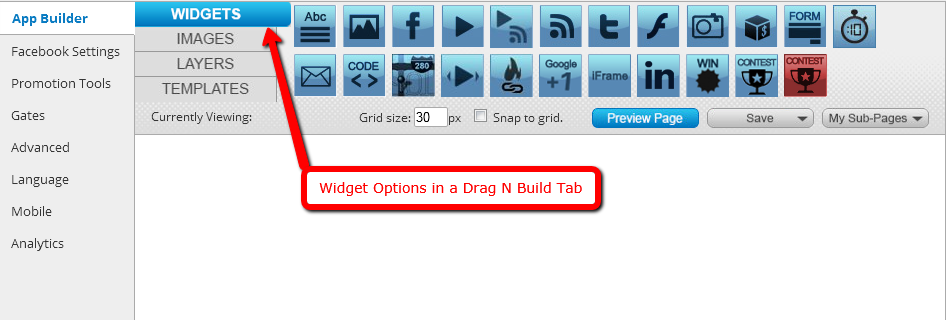
This then creates the tab and gives you the menu below. Simply click on widgets and drag the desired widget to your tab work area.
SETUP GUIDE:
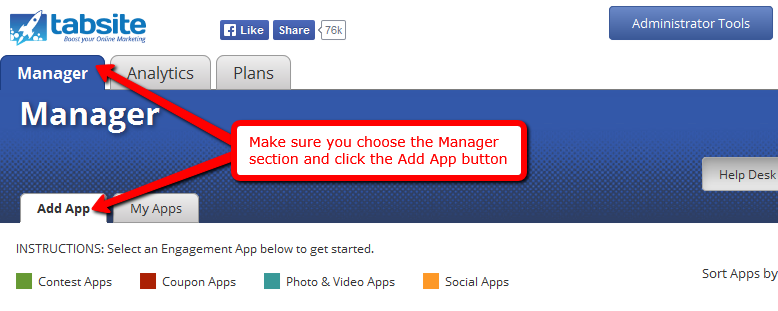
First, go into the Manager section and choose the Add App tab
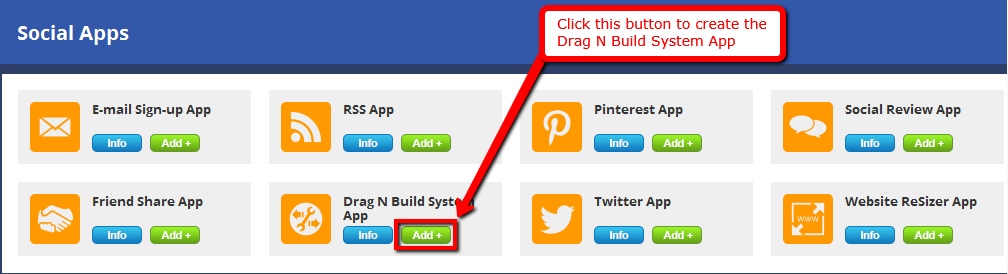
Then, scroll down the page until you reach the Social Apps section. Look for the Drag N Buid System App and click the Add+ button.
You will be forwarded to the App Builder page. Below and at left beneath "Widgets and Features" in the navigation is a list of widgets and tools. Click on any to go to that page and get more detailed assistance and information on that feature.
View details on any widget below or see full list at: https://dev.tabsite.com/help/widgets-and-features
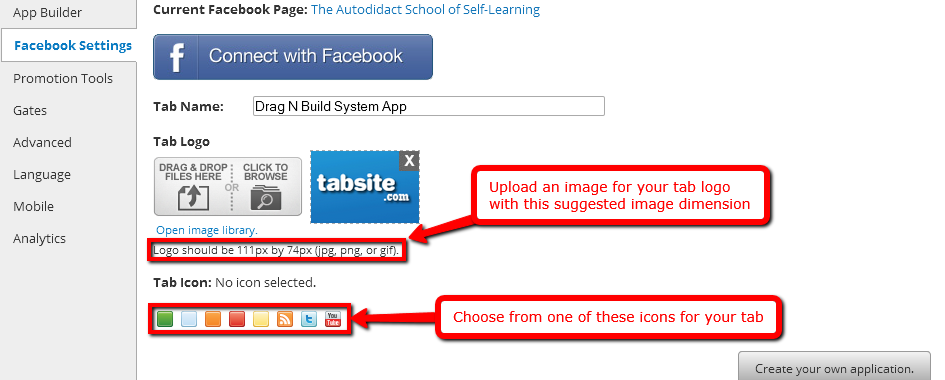
The second area on the app setup section is the Facebook Settings. With this tool, you can easily publish your tab to a Facebook Page if you wish. Just specify your tab name, tab logo and tab icon. It is important to remember that the ideal image size to be uploaded is 111 x 74 pixels with any of these image formats: png, jpg or gif.
Located at the bottom-right corner of the page is the "Create your own application" where it does exactly what its name says. Upon the creation of the app, you will be required to enter the App Secret and App ID on their respective blank fields.
The Promotion Tools section includes four sub-settings. They are Social Sharing Options, Blog/Web Call-out Tool, Post Planning and Comment System.
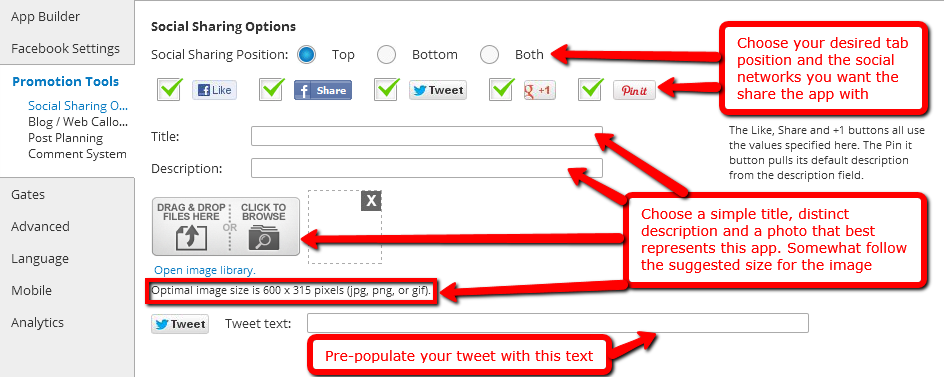
The first sub-setting of the Promotion Tools is Social Sharing Options. In this section, you can prepare your app for social sharing. Tick the circle of your preferred app position to the social networks you'll be sharing it. It can be situated on top, bottom or both. The list of sites that support this app include Facebook, Twitter, Google+ and Pinterest.
Being the administrator, you are the one in-charge of the engagement activities done on each social media platform. You can regulate the Likes and Shares on Facebook, pre-set the tweets on Twitter, +1 some great contents on Google+ and pin your favorite images on Pinterest.
When selecting the title and description for you app, make it as creative as possible.
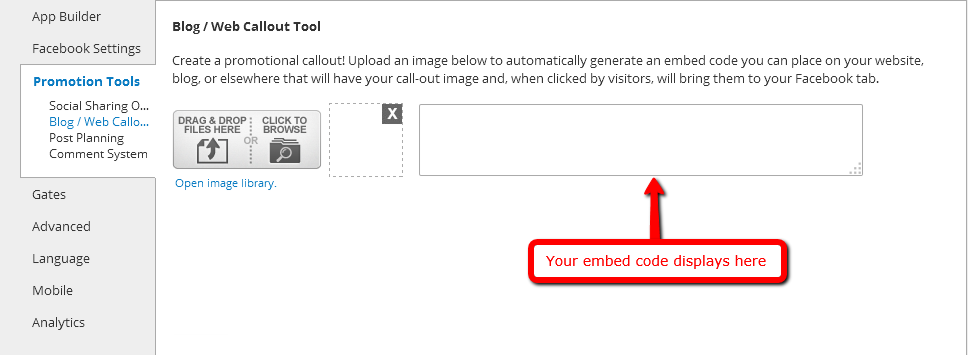
The Blog/Web Call-out Tool lets your fan page obtain a lot of traffic via a promotional call-out. All you need to do is upload a photo and then, we will give you an embed code you can utilize to place the call-out image to your personal blog or to other sites. When visitors click this image, they will be forwarded to your Facebook tab. Note: This feature is offered to Platinum level users only.
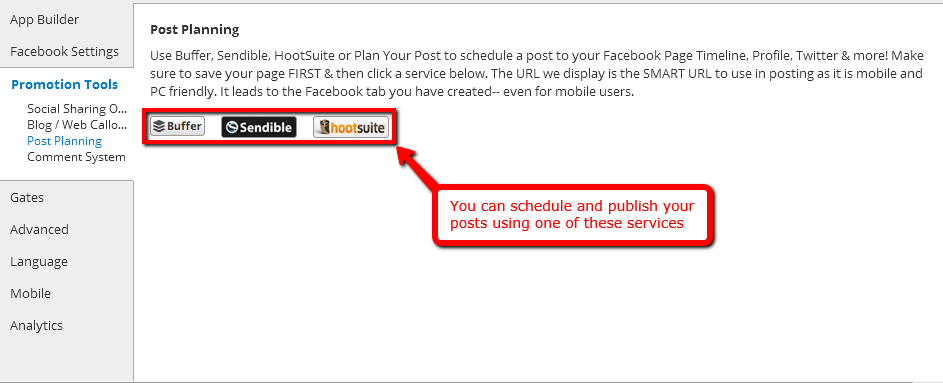
The Post Planning setting allows your posts to be scheduled and published on various social media platforms. To get this done, we provide three types of scheduling services; Buffer, Sendible and Hootsuite. See to it to initially save your page before choosing one of the mentioned services. The type of URL we display is a SMART URL due to the fact that it is mobile and PC friendly. It directs to the tab on Facebook you have created.
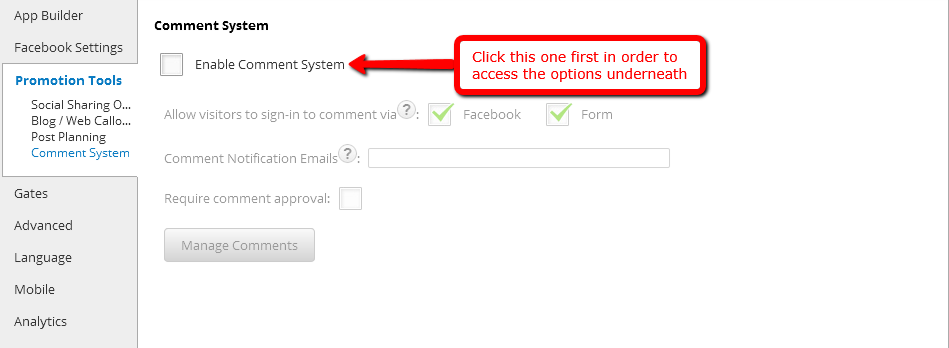
The last sub-setting for Promotion Tools is the Comment System. You will need to click the Enable Comment System check box first before you can gain access to the options located below.
The first of these options is the "Allow visitors to sign-in to comment via" which gives you two options for signing-up before posting any comment; either on Facebook or on a Form. Meanwhile, the "Comment Notification Emails" option lets you add the email addresses you want to notify for new, posted comments. Lastly, the "Require comment approval" check box gives you the power to approve or reject the submitted comments. Underneath, there is a gray button called Manage Comments which exactly does what its name says.
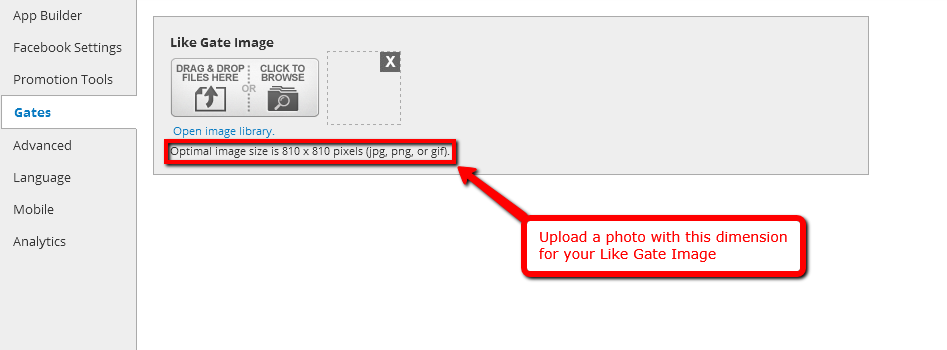
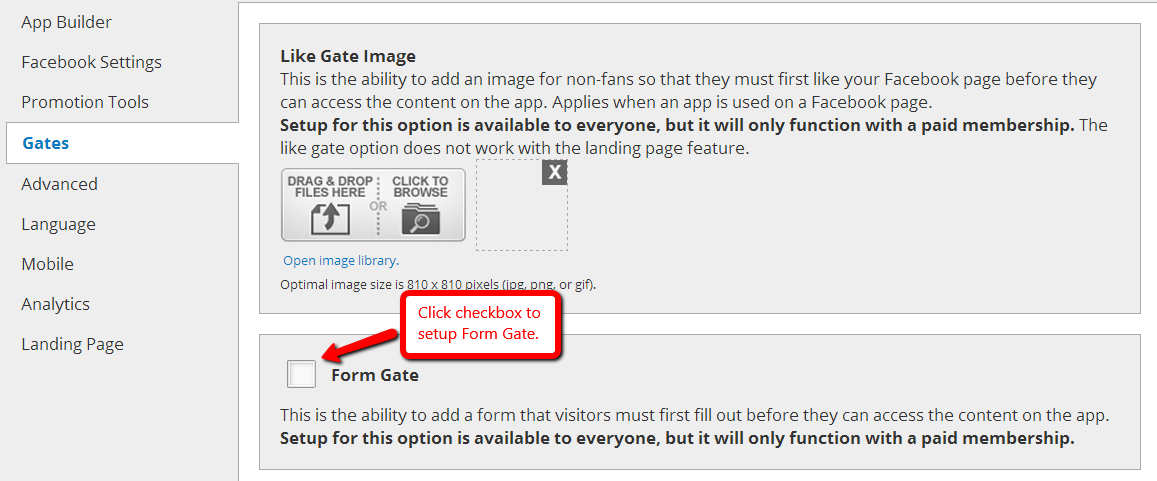
The Gates setting lets you generate the Like Gate Image which can be used for the fan gating feature. When visitors visit your page, the tool will then check if they have already "Liked" it, thus, ensuring that they are already considered fans of the page. They can gain access of the contents of the app when they are already your fans. On the other hand, only the Like Gate Image will be shown to them if they haven't "Liked" it yet.
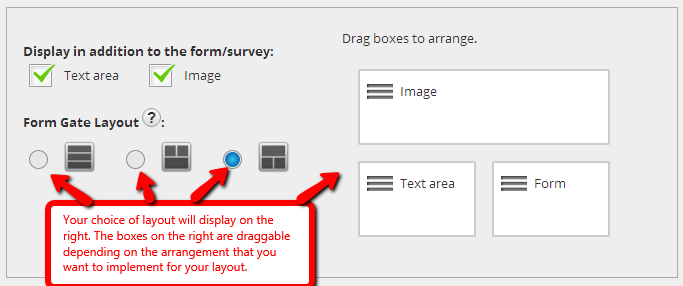
Form Gate is a simple form that users must complete and submit in order to access your app content.
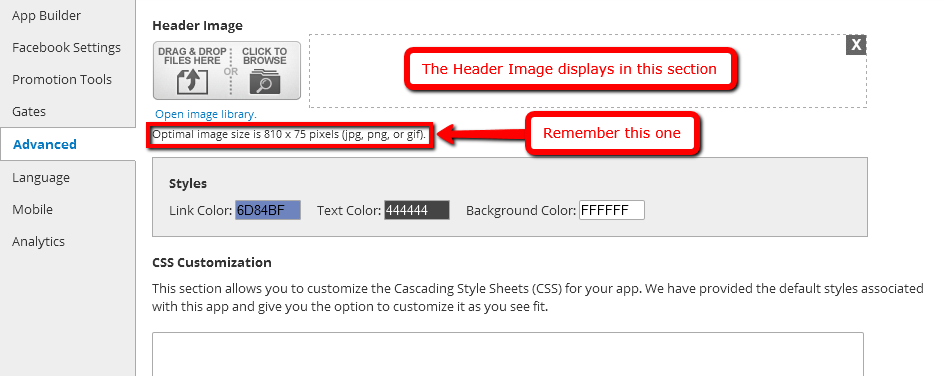
The Advanced setting lets you upload a header image and customize the styles of your tab. The optimal size for the header you'll be uploading is 810 x 75 pixels and the styles that can be customized for the tab include link color, text color and background color. The CSS of your app can be customized as well; we have already provided the default styles connected with this app.
In terms of the Language settings, it is comprised of two sub-settings specifically General and Comment System.
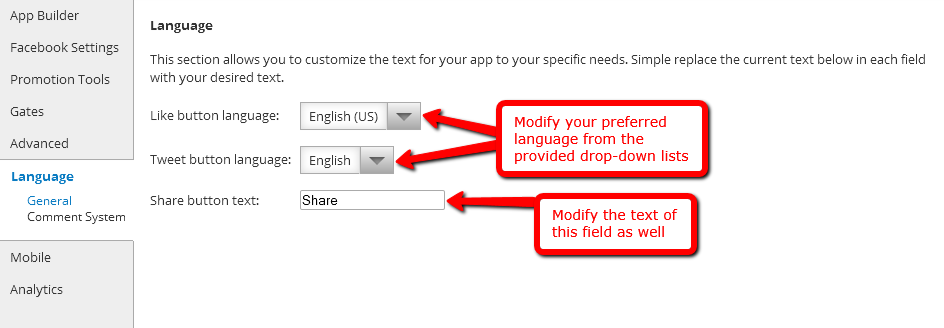
The General section lets you modify your app text. It has two drop-down lists consisting of the "Like" button language and the "Tweet" button language. Just change your desired language from the list to display on your tabs. Also, you can modify the Share button text to your own version.
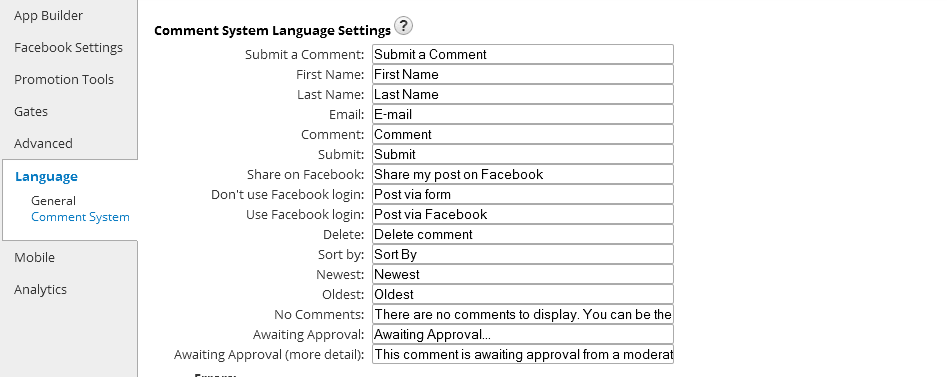
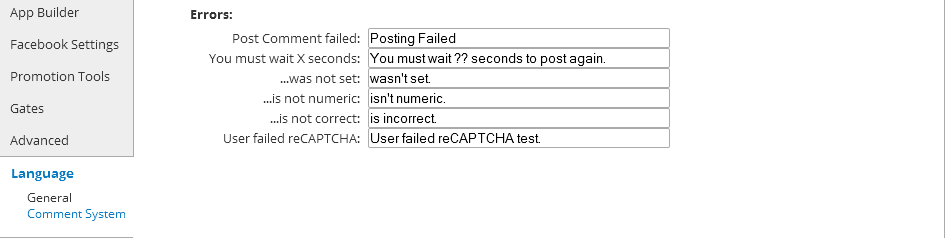
The Comment System has two sections; the Language Settings and Errors. Simply replace the default texts from the fields of your comment system to your desired texts.
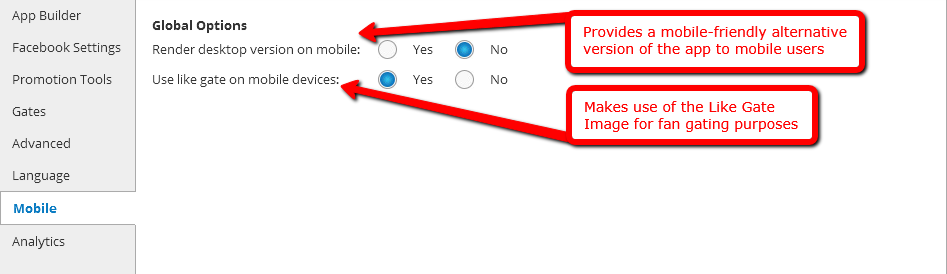
The Mobile setting is consist of two Global Options; the "Render desktop version on mobile" and the second one is "Use like gate on mobile device". The first sub-setting enables mobile device users to use the app in their mobile phones, tablets or PCs. The second sub-setting lets you use a Like Gate image feature to your mobile devices which will serve as a fan gating feature.
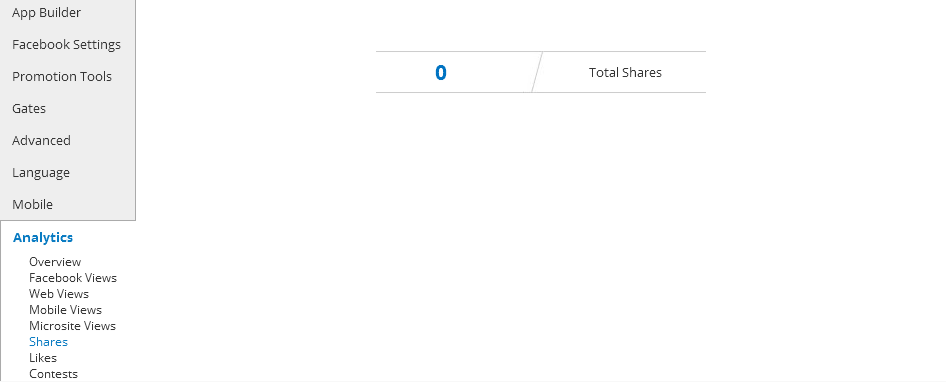
Lastly, we have the Analytics section where it contains several graphs. These graphs are composed of Overview, Facebook Views, Web Views, Mobile Views, Microsite Views, Shares, Likes and Contests.

Overview graph

The graphs of Facebook Views, Web Views, Mobile Views and Microsite Views displays like this when viewed on the screen.

The Total Likes/Shares/Contests can be viewed here
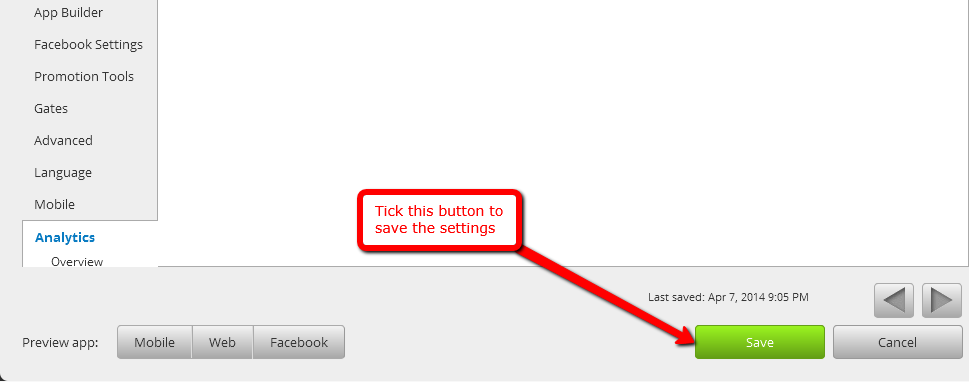
Remember to save all the changes that you have done to the settings by clicking the "Save" button below.
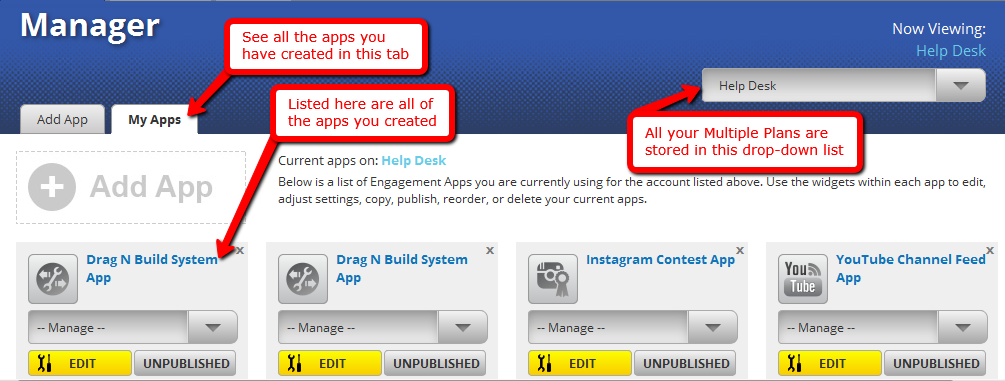
After clicking the Save button, you will be forwarded to the My Apps tab. All of your created apps are placed in this page. You can add another app, test it and publish it consistent with the features of your Plan.
Click the "Publish" button to publish the app and go through the procedure of putting it onto your site or in Facebook.