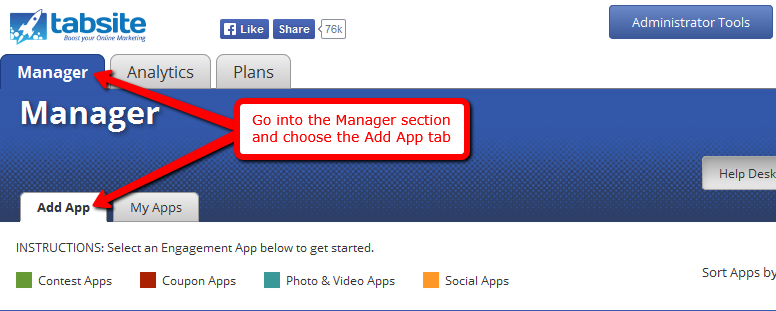
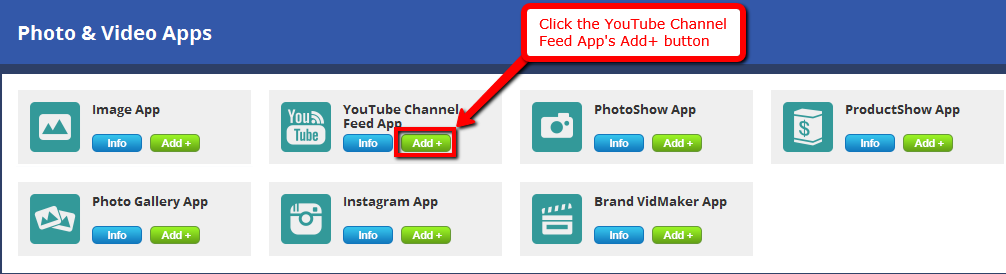
The YouTube Channel Engagement App allows Page Admins to easily customize a image based tab. This App is available at Platinum and above Plans.
This tab offers:
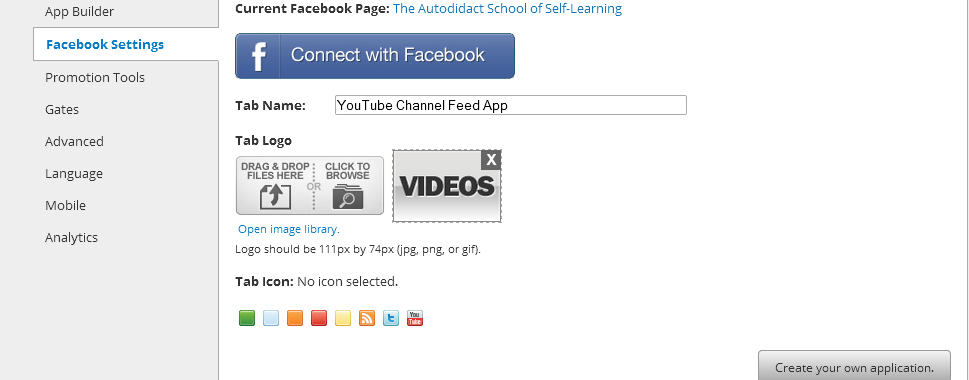
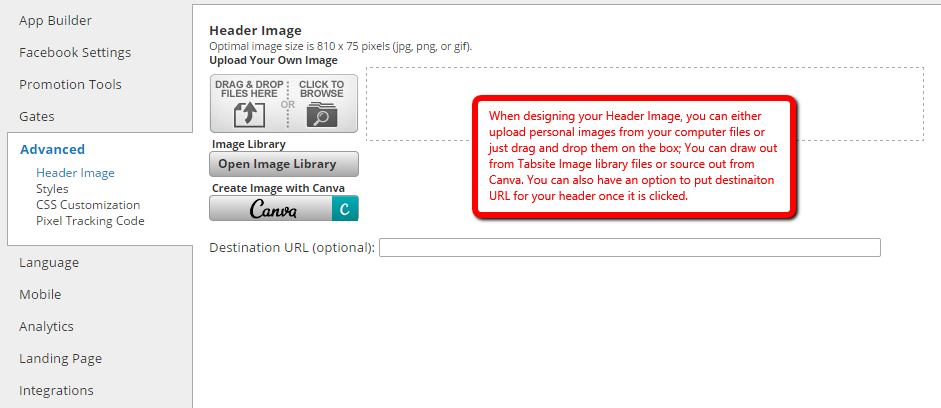
- Ability to add a 810 x 75 header image
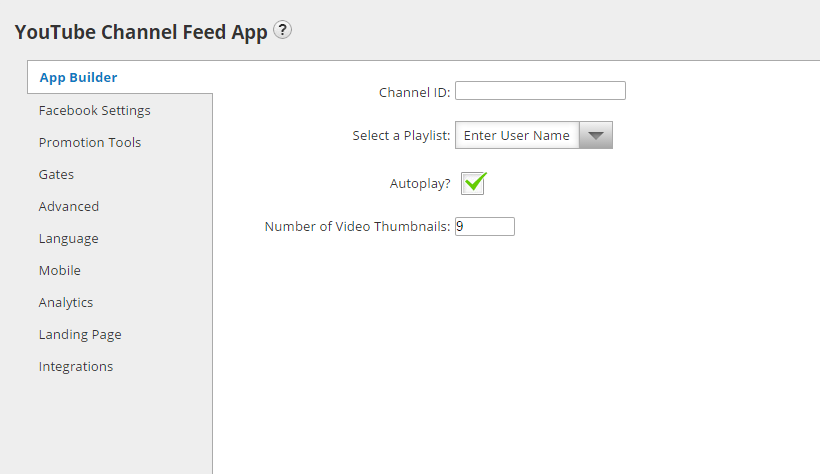
- Ability to enter your full Channel or to choose a specific Playlist you have created. Upon entering your Channel ID, we pull in your Playlists and populate a dropdown of them for you to select from.
- The first or selected video is at large size and play right on the tab. Admins can set how many videos from a Playlist will be part of the thumbnails slider area. Users can simply click the arrows to advance through your videos and select the one they want to watch.
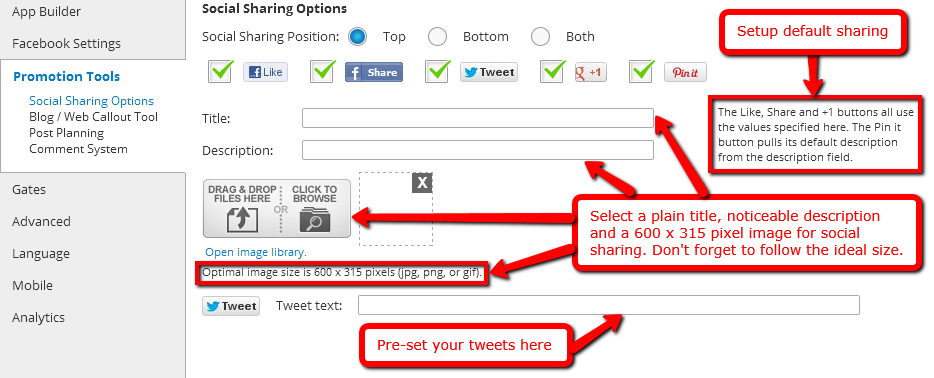
- Populate for users and control your brand social sharing message by adding core information for the Share button, Pinterest Pin, +1 and Tweet to strengthen the message from your Page that goes out when fans share the information. The Like, Share, and +1 pull from the Title, Description, and Image fields, and the Tweet text has a counter to help you stay within a 140 character limit.
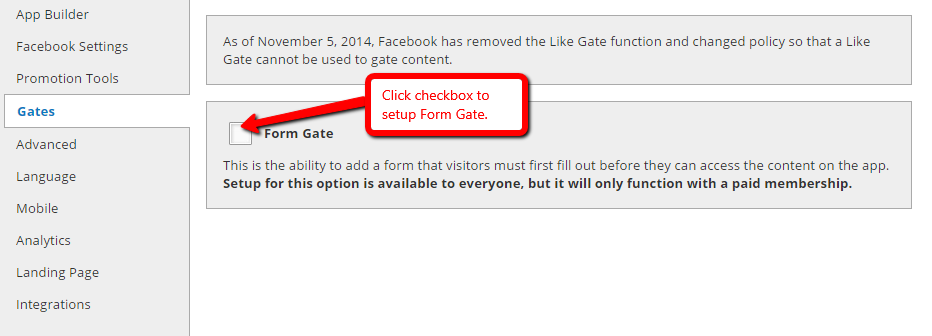
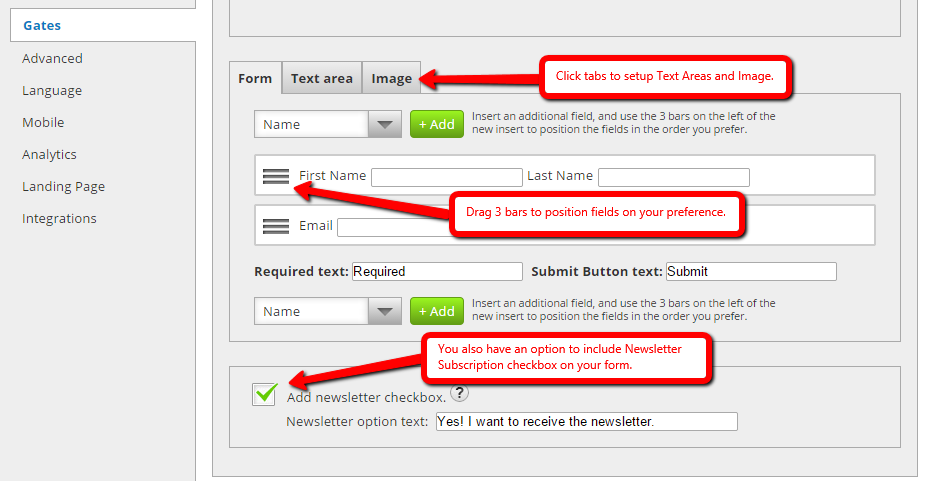
- Ability to have a "Form Gate" so that users must sign-up to get access to your videos.
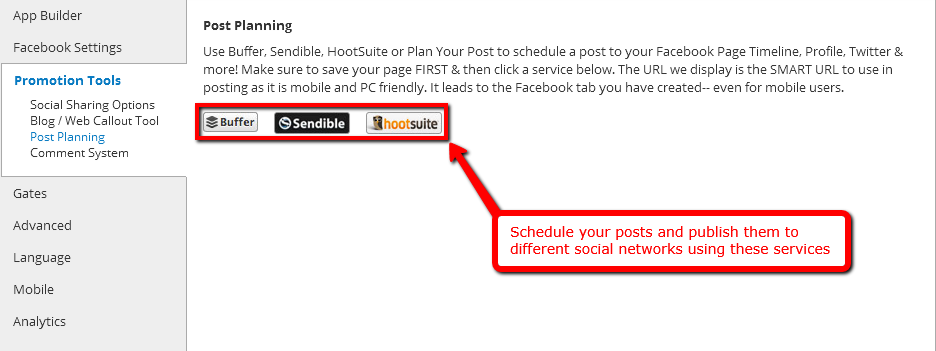
- Platinum Plans have the Promotional Tools area active enabling Admins to more easily drive traffic to their tabs from their website or blog by allowing you to upload an image and grab embed code to add to your blog or site. This image call-out will link to the Facebook Page Tab.


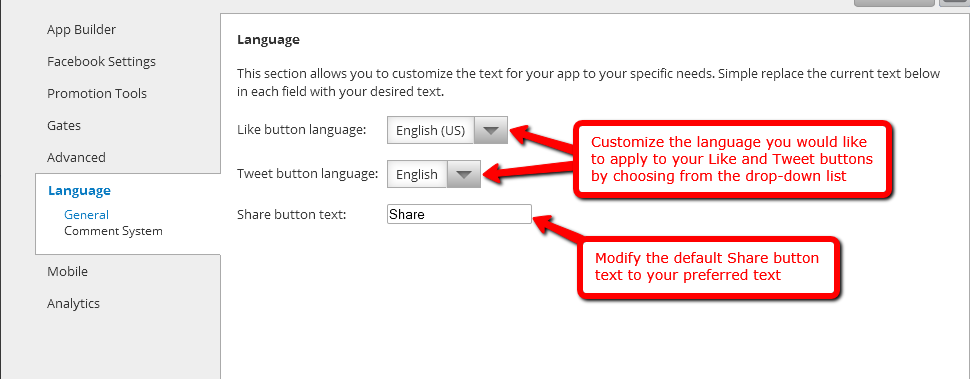
The Language section has two sub-settings; General and Comment System.

The General sub-setting enables you to modify the kind of language you would like to use for your Like and Tweet button. These lists of languages can be seen from the "Like button language" and "Tweet button language" drop-down menus. You can modify your Share button text as well. Simply replace the text on the field with your desired version.
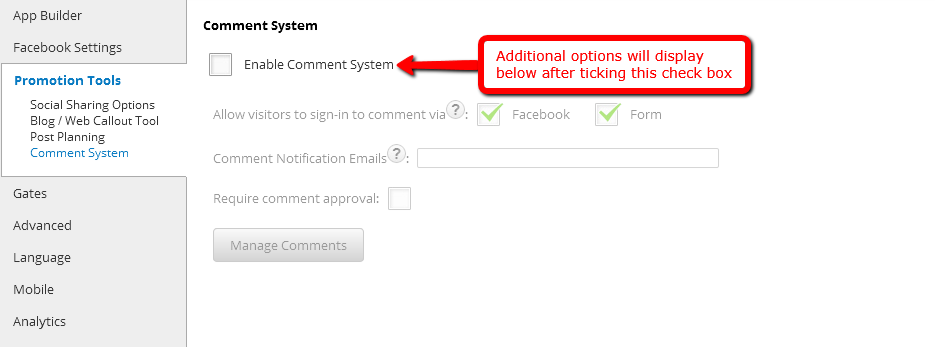
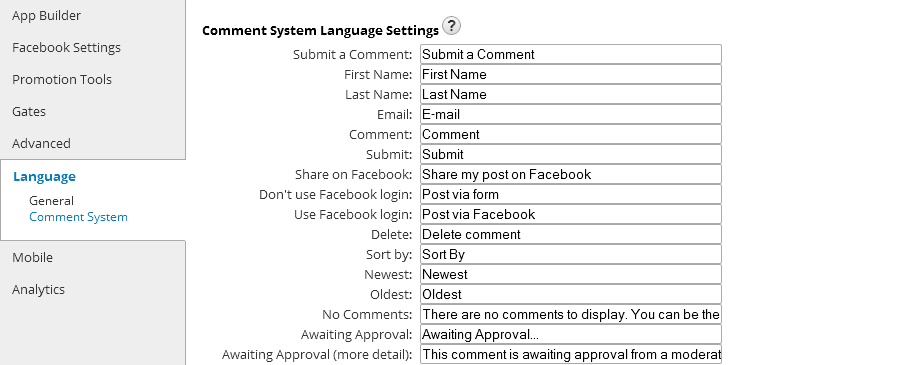
The Comment System is comprised of two sub-settings; Comment System Language Settings and Errors. All you need to do in here is to customize all the default texts written beside the descriptions and change it all to your preferred version.

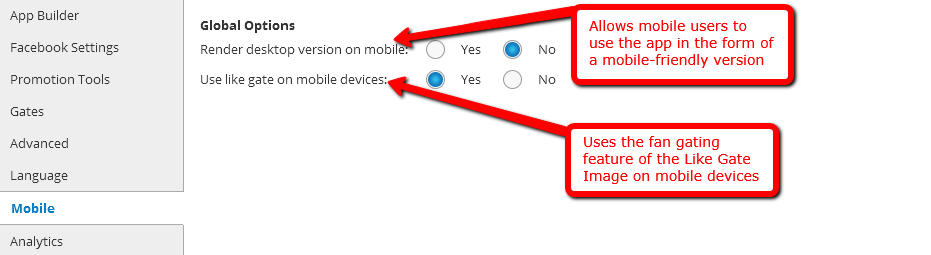
The next setting is Mobile. There are two Global Options for this setting: the "Render desktop version on mobile" and the "Use like gate on mobile devices". The first one allows mobile users to use the app’s mobile-friendly alternative version on their mobile devices. Meanwhile, the second one enables the usage of the fan gating feature of the Like Gate image to mobile users.
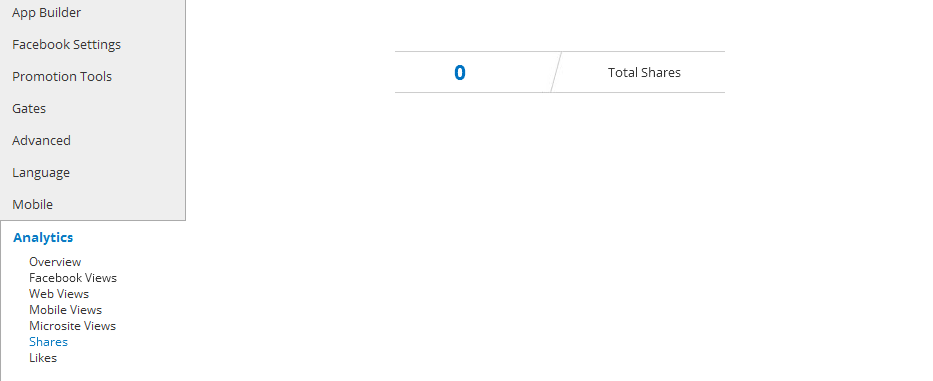
The Analytics setting is the last one in the line. It determines the amount of traffic that is entering in your app and where exactly it is coming from. The graphs comprising this setting are the following: Overview, Facebook Views, Web Views, Mobile Views, Microsite Views, Shares and Likes.
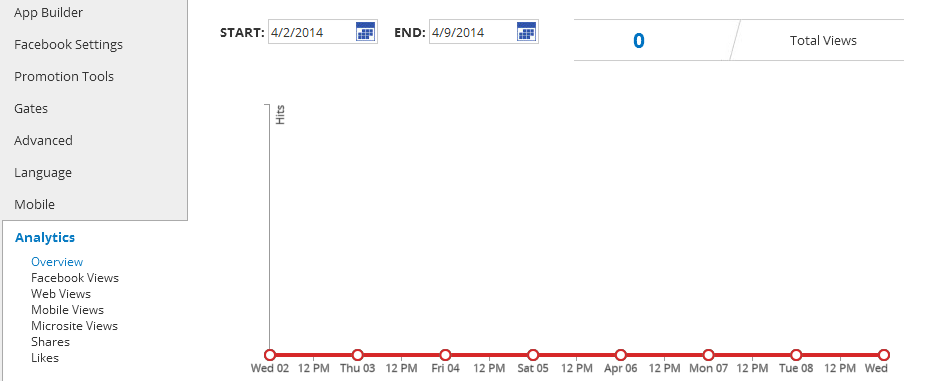
Graph of the Overview section
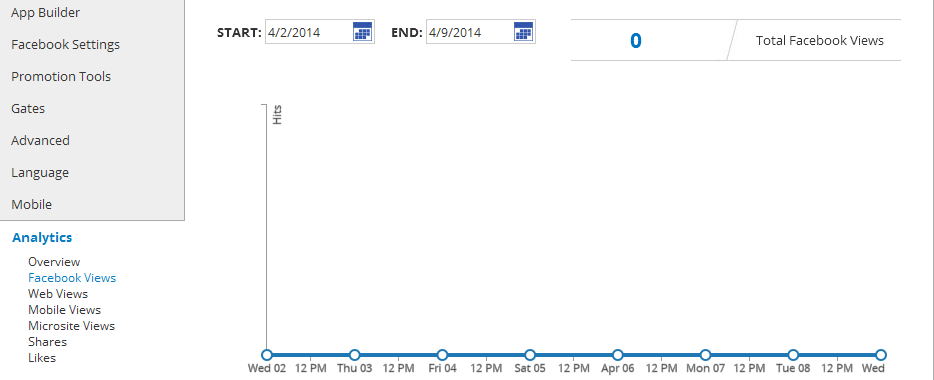
The graphs of the Facebook Views, Web Views, Mobile Views and Microsite Views section
The amount of Shares and Likes the app has been obtaining
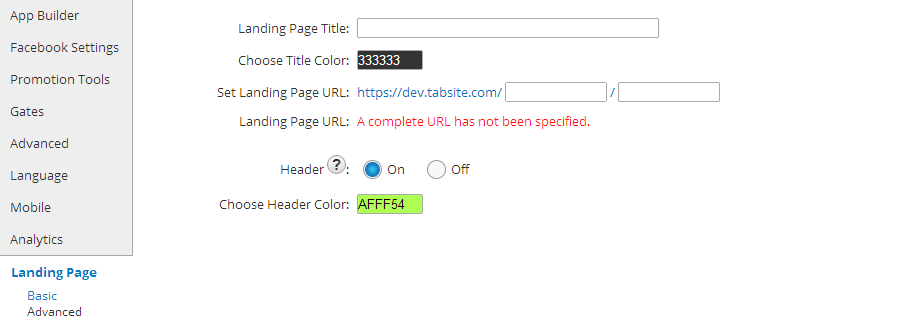
Landing Pages are a powerful feature allowing you to create lead capture pages using any app.
Create your own landing page directory name for your use on any landing pages. You create a name specific to your business such as https://tabsite.com/mybusiness/summerpromo(where "mybusiness" is your business name and the landing page is "summerpromo".)
Landing pages are the perfect area to drive traffic to in order to create more leads. Any app can have a Landing Page.
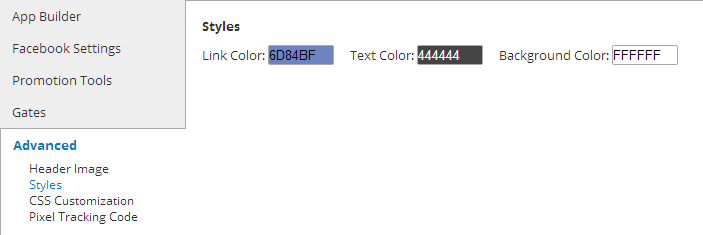
You may also change the title and header font color.
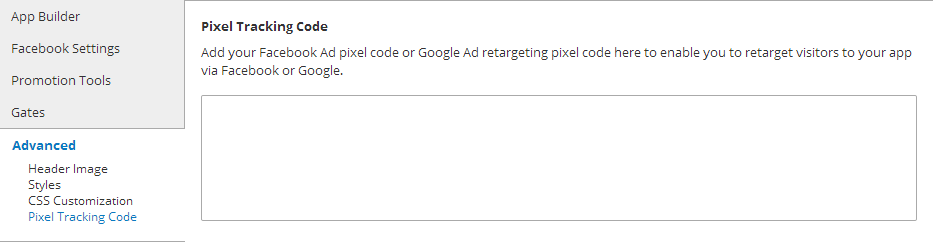
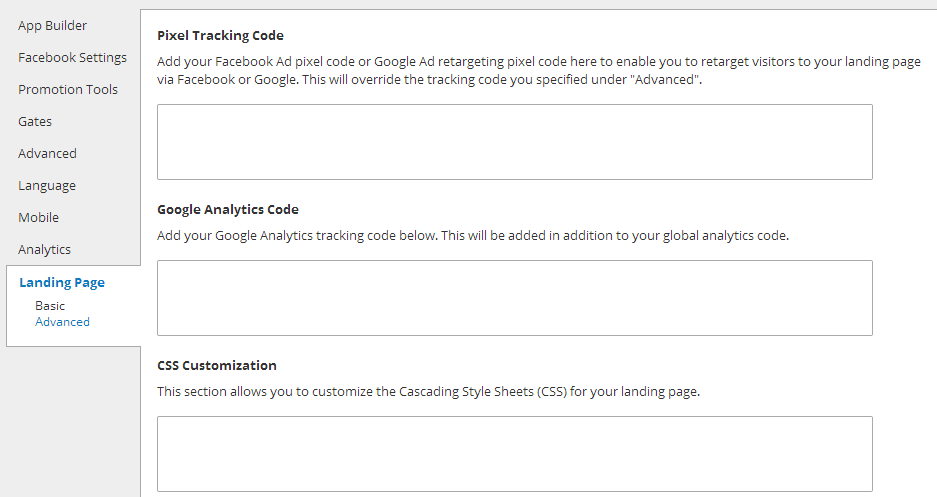
We give you the option to place the Pixel Tracking code for Facebook Ad's and/or Google Ad's on your landing page. This allows you to retarget/remarket to visitors via ads on those services.
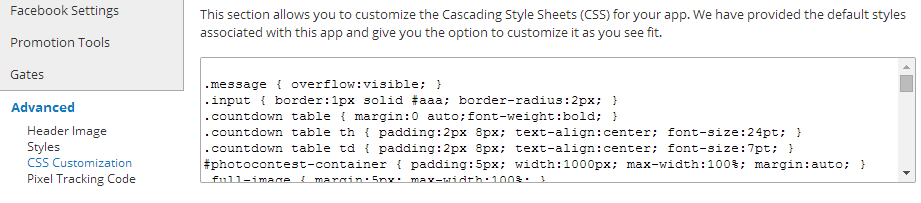
In addition, we also offer CSS control for advanced styling of your Landing page as well to use if desired.
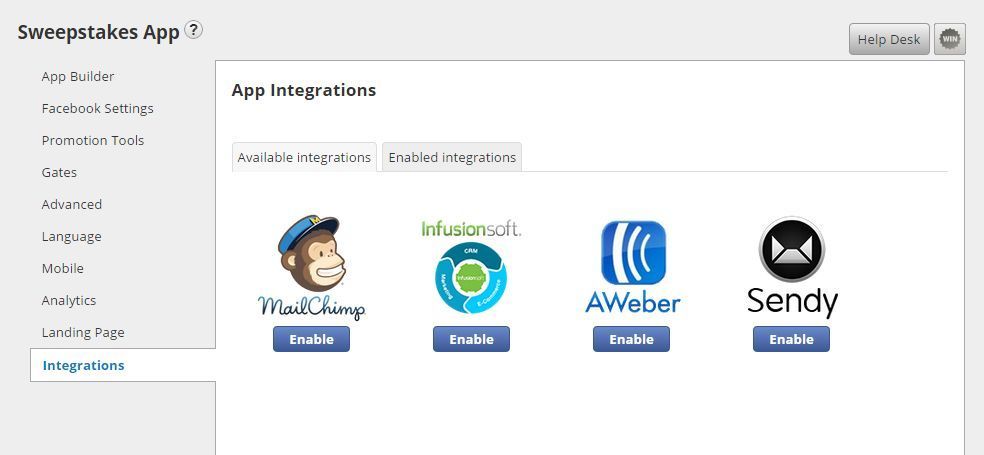
Integrations:
The "Integrations" area offers options for connecting forms to other services like Mailchimp, Infusionsoft, AWeber and Sendy.
See full details on the Mailchimp integrations here with steps for setup so that your form data is automatically added to your service provider.
See full details on the Infusionsoft integrations here
See full details on the AWeber integrations here
Don’t forget to click the “Save” button after you have done doing all the changes.
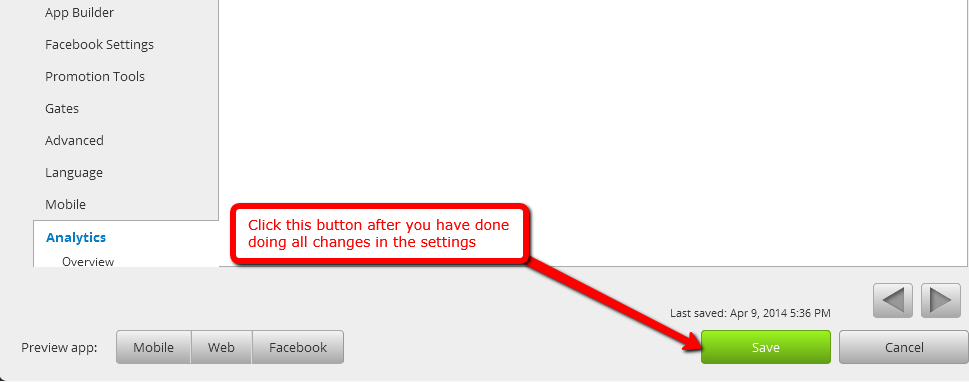
Upon ticking the “Save” button; the page will lead you to the My Apps tab. You will see in this area all the apps you have added. You are able to add another app, test it and finally, publish it in accordance with the features of your Plan.
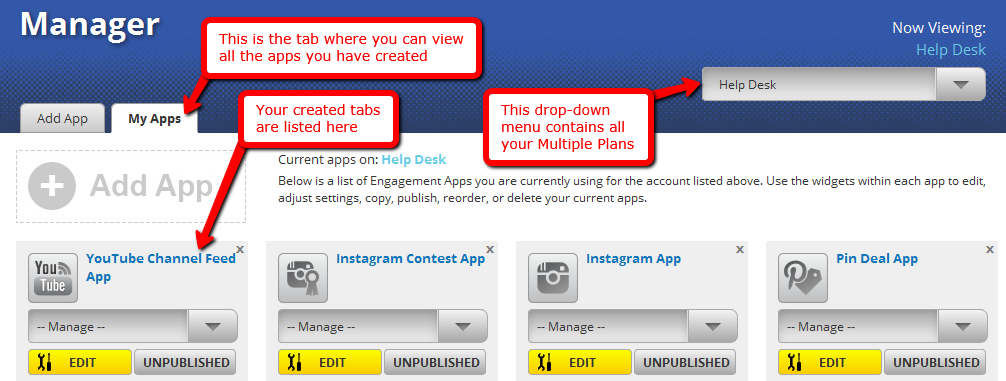
Tick the “Publish” button to go through the process of placing the app to your blog, website or in Facebook.