APP SETUP AND OPTIONS
Photo Contest
Create Viral Photo Contests where visitors or Admins can upload their photo entry for your fans to vote on!
Multiple voting options are available including single vote, daily voting, or a set number of votes per contest. Select this option to begin creating a photo entry contest. If you want to only use Admin Entries, make sure to select the "Use only Page Admin Entries" toggle. By removing the "vote" button in Display options you can turn off voting totally until you want to allow fan voting as well.
Creating the Photo Contest App:
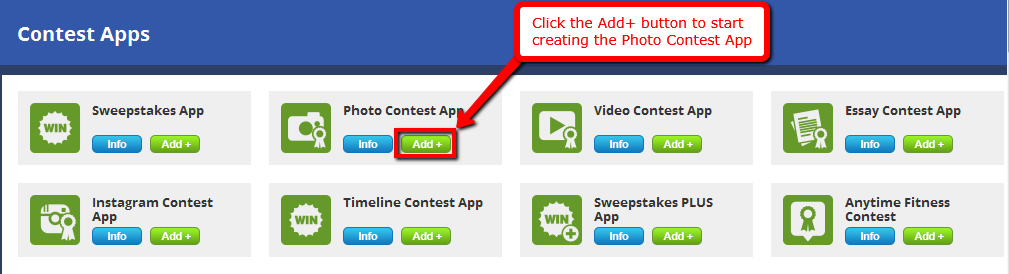
Go into the Manager section and then select the Add App button.

Scroll down the screen and then stop at the Contest Apps section. Search for the Photo Contest App and press the Add+ button
NOTE: Canva is now integrated in TabSite to allow you to custom template images in your app! Use Canva's or create your own by clicking the Canva button. Read more here.
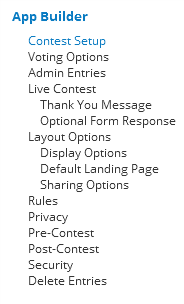
After pressing the Add+ button, you will be directed to the App Builder page. This section contains several sections namely Contest Setup, Voting Options, Admin Entries, Live Contest, Layout Options, Rules, Privacy, Pre-Contest, Post-Contest, Security and Delete Entries.
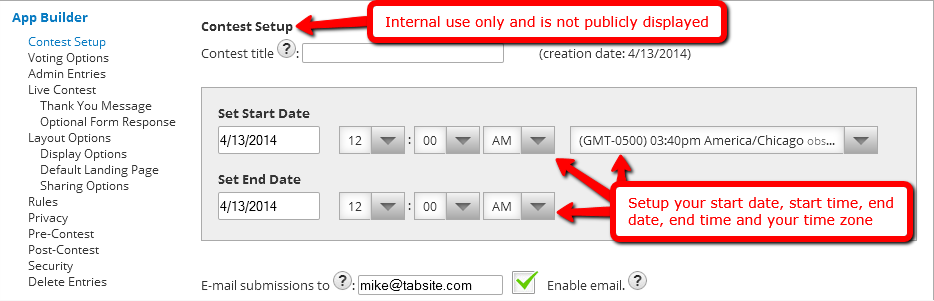
The Contest Setup is the first sub-setting of App Builder. It requires you to key in your desired Contest title. This title is not publicly displayed and is for internal use only.
You can set the start date and time of your contest as well as its end date and time. You must also remember to set your current time zone from the drop-down list provided on the page.
Additionally, you can include email submissions to users you would like to notify regarding the contest. On the other hand, the Enable email check button lets you receive an email of each submitted entry. It is recommended to uncheck this option if you don’t want your email to be flooded by thousands of entries coming in. Premium app users always have access to the export data in the manager.
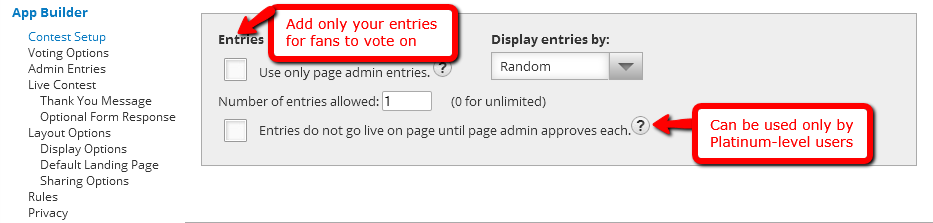
Choose the Entries toggle if you want to add your own entries for fans to vote on. This enables you to load entries of your choice for the contest. Fans can then vote on your entries, and they are not able to submit any entries themselves. You will then add entries under the “Entry Form” setup area. You can add as many of your own entries as you choose. You are able to choose how you would like to display the entries with the “Display entries by” checkbox. Choices include “most recent”, “votes” and “random”.
The checkbox called “Entries do not go live on page until page admin approves each” is available at the Premium App level and allows entries to be screened by the TabSite Admin prior to it being live on the fan page.
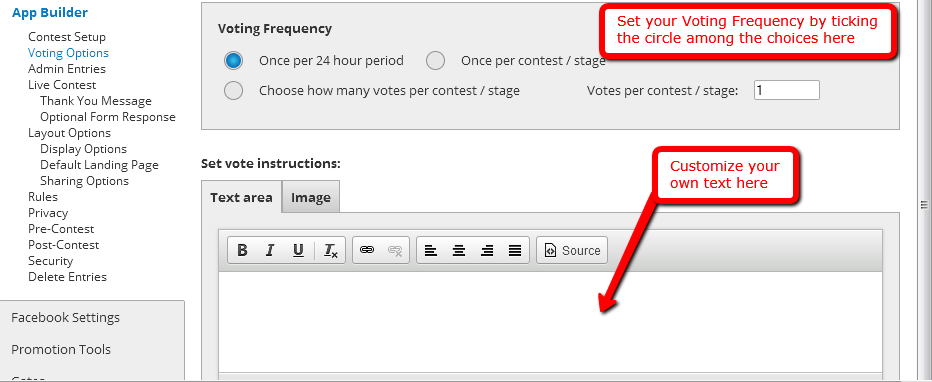
The Voting Options section is the second sub-setting of the App Builder page. It lets you assign the voting frequency of the app either “once per 24 hour period” (24 hours after their last vote) or “once per contest/stage”. Another option for the page enables you to choose how many votes per contest/stage. All you have to do is key in the quantity you prefer.
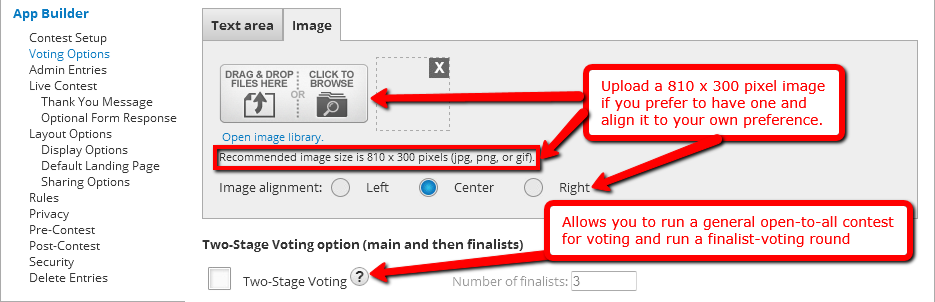
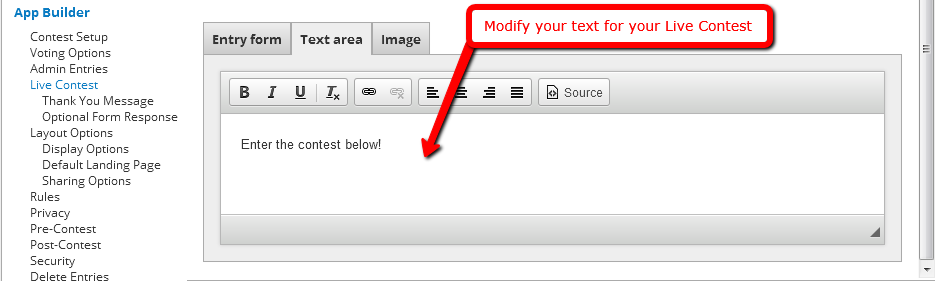
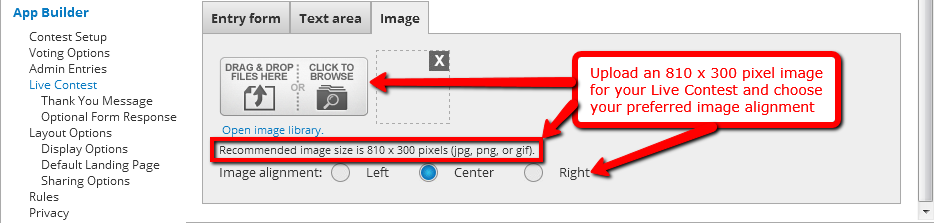
There are 2 ways to set your voting instruction; either by writing it into the text area or via your customized image (Adjust its page position and make sure it is 800 x 310 pixels).
Want votes totally off so no public voting happens? You can by going to Display Options area and de-selecting vote boxes. See that section below.
The last option is the Two-Stage Voting. This option allows you to run a general contest open to all to vote on and then to run a finalist voting round to determine a final winner. Finalists would be determined by number of votes in the initial stage one voting, and you can set the number of finalists for the stage two voting.
Simply click the checkbox to enable this feature, then set the number of finalists you want to have in the last stage. The text box that appears is the text that will be shown at the top of the stage two voting page to alert users that these are the finalists.
Under “Contest Setup”, you will set the dates for the start of stage one voting and the end of the contest overall; then, set the start date of stage two to fall between the other two dates.
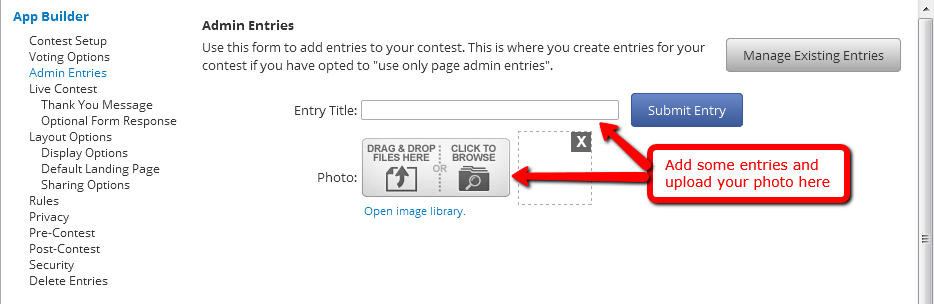
The Admin Entries is the third sub-setting of the App Builder page. Entries for your contest are added to this form. If you have selected to “use only page admin entries”, this is where you create entries for your contest.
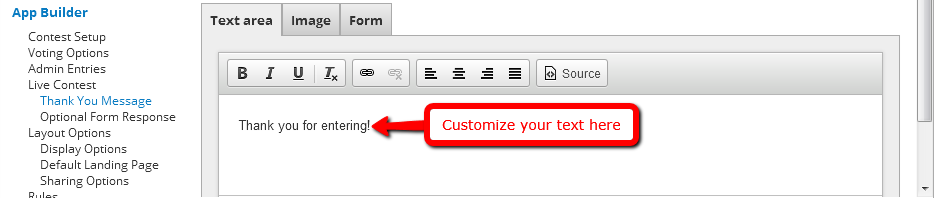
The Live Contest sub-setting under the App Builder page has its own sub-sections; the Thank You Message and the Optional Form Response.
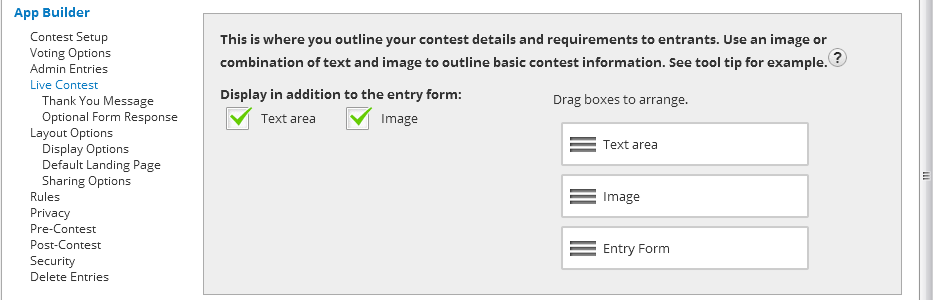
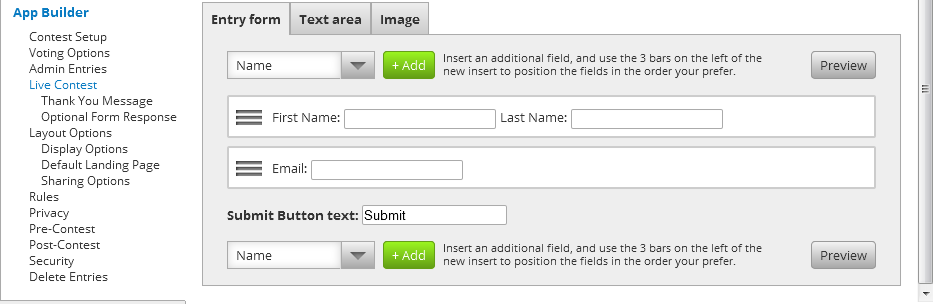
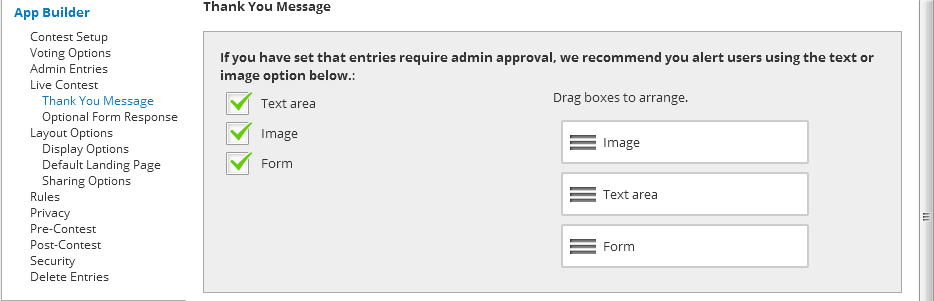
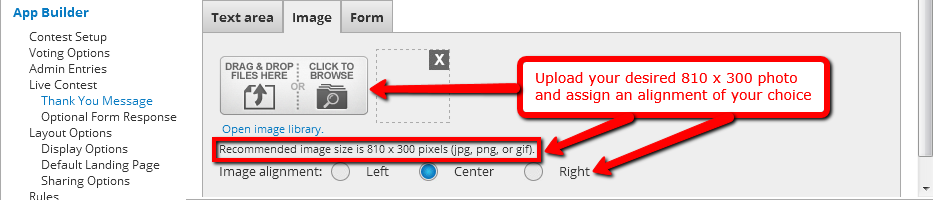
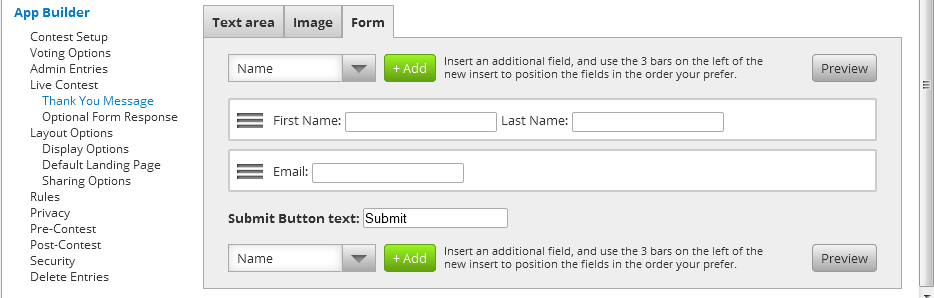
You are able to set your own Thank You Message for users who joined the Live Contest. Simply tick the check boxes of the areas you want to customize and include to your message. These comprise of the Text area, Image and Form.
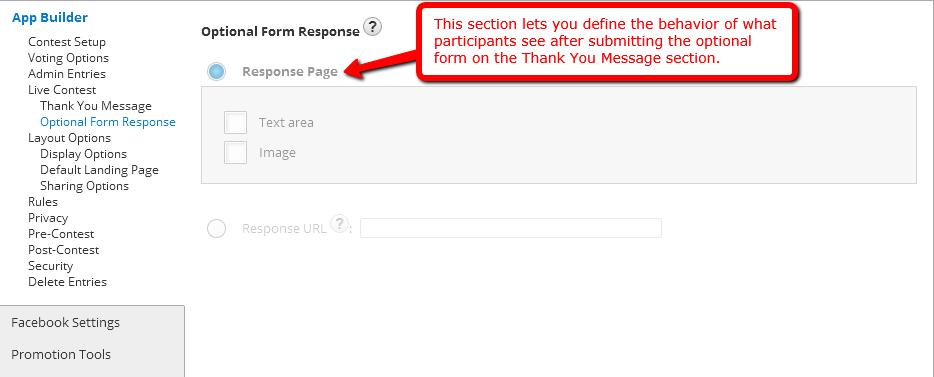
The Optional Form Response is the second sub-section of Live Sweepstakes. It enables you to define the behavior of what contestants see after they have submitted to the Thank You Message the optional form. The settings on this page will be disabled and have no effect if a Response URL is used for the “Thank You Message”, or there is no “Thank you Message” is defined.
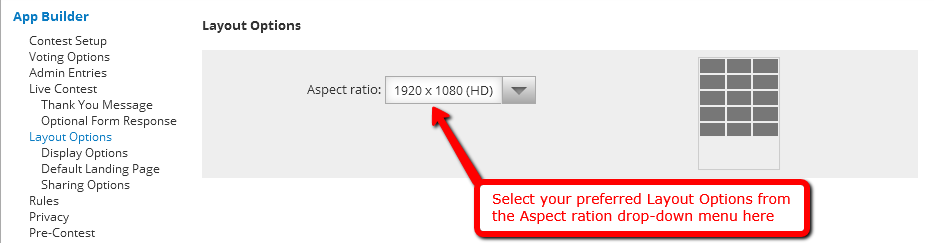
The next sub-setting of the App Builder is the Layout Options. You are able to choose the Aspect ratio of your Layout Options from the drop-down list provided on the page. Choices include 1920 x 1080 (HD), 640 x 480 and 1 to 1 (square). It has three sub-sections specifically Display Options, Default Landing Page and Sharing Options.
Note than the entry thumbnails are responsive so on mobile devices 3 rows wide would be converted to 1 column to enable mobile users to have a great viewing experience.
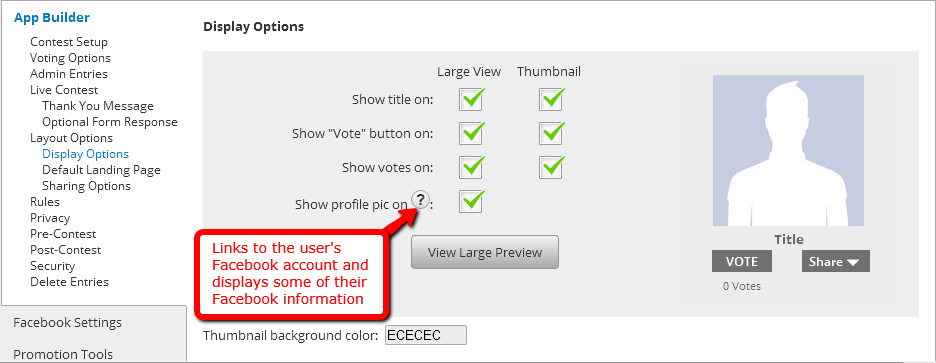
The Display Options sub-section lets you show the features of your uploaded photo. It has two displaying options namely Large View or Thumbnail which enables you to “Show title on”, “Show Vote button on”, “Show votes on” and “Show profile pic on”. The “Show profile pic on” displays the user’s Facebook profile picture and name and will link to their Facebook profile when its check box is ticked.
OPTION: Want vote button off? Simply uncheck the "Show "Vote" button on "Large View" and "Thumbnail"". This allows you to run a contest where no one votes publicly or where the Page or a designated board votes.
Modify the Vote Icon and Share button by replacing their default text, text color and button color. Also, you can enable the Thumbs up button for your vote icon.

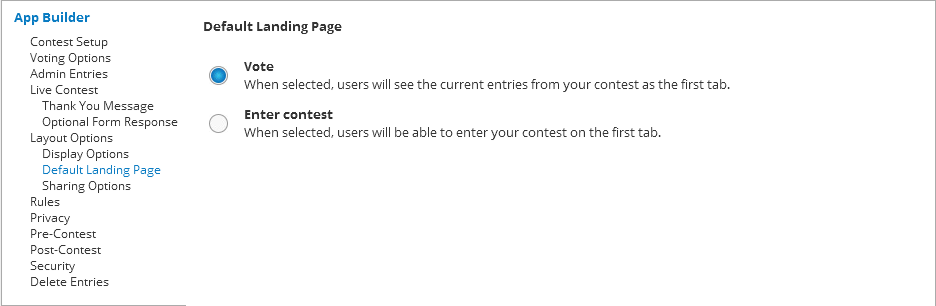
The Default Landing Page has two options for you to choose; either to vote or to enter the contest. The “Vote” option let users view the present entries from your contest being the first tab while the “Enter contest” let users join your contest on the first tab.
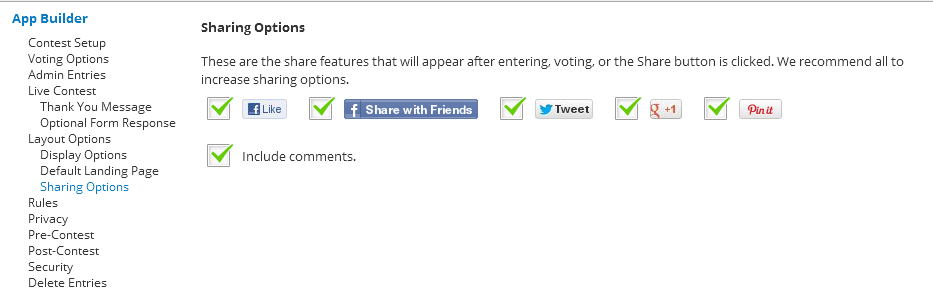
Share your features to social media networks using the Sharing Options. It is recommended to tick all the social networks we offer to increase your sharing options.
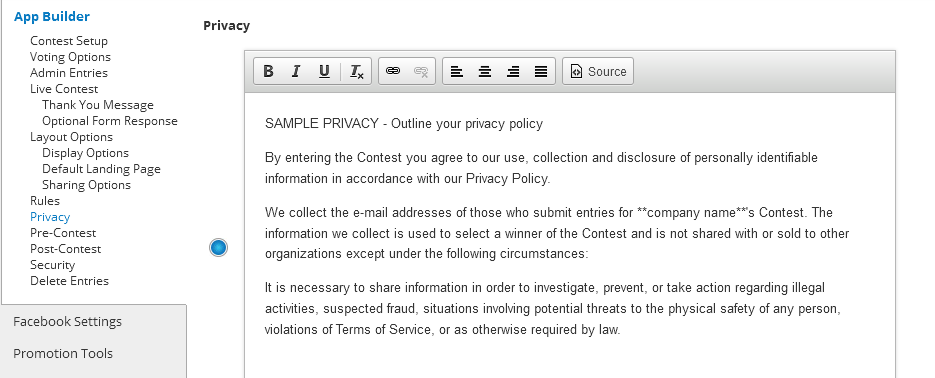
In terms of Rules and Privacy, simply customize these features by replacing the default texts to your own version.
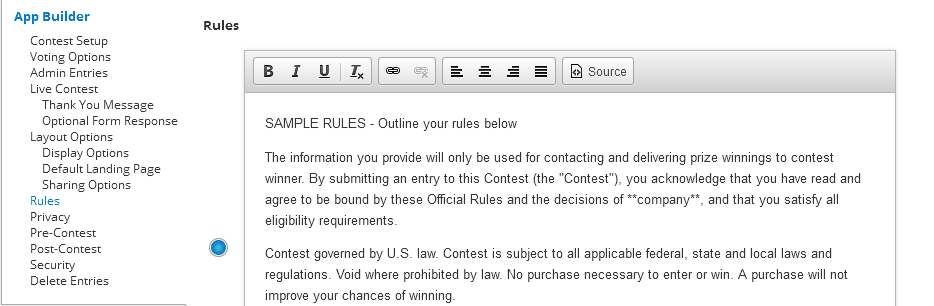
See the instruction in “Rules”.
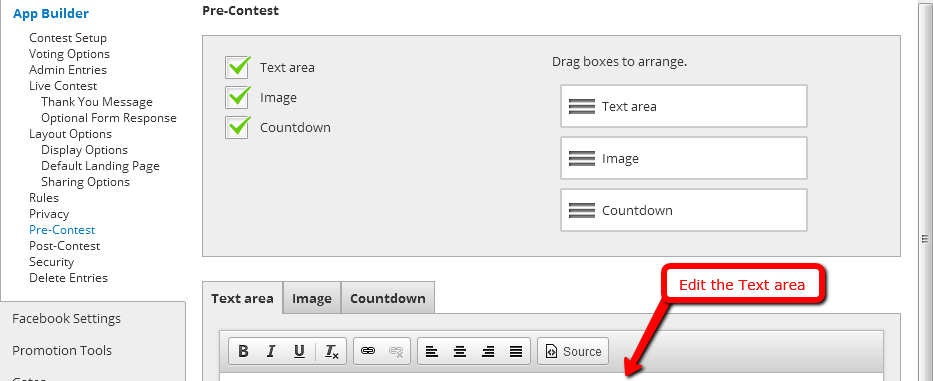
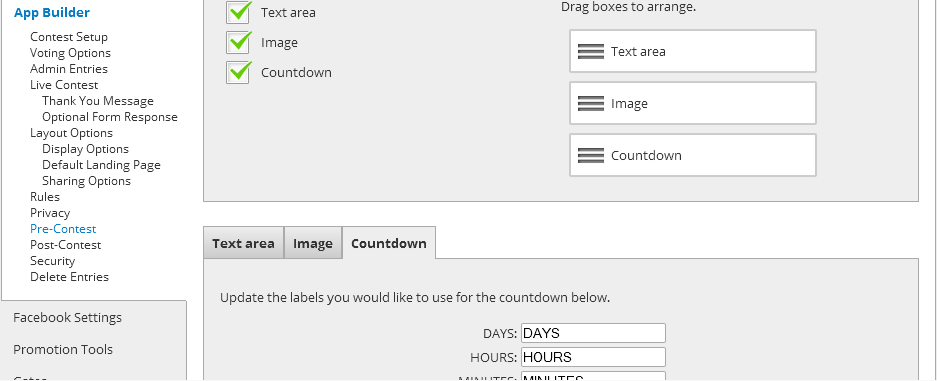
When it comes to the Pre-Contest sub-setting, just customize the texts in the Text area.
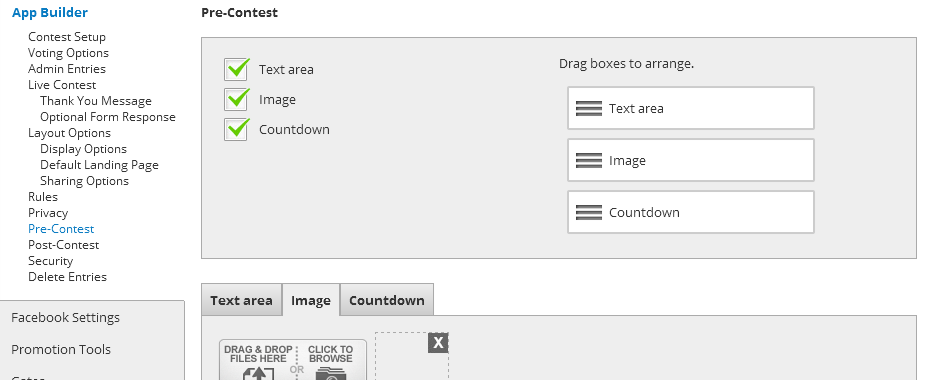
Upload an 810 x 300 pixel image for the Image tab
Customize the labels you would like to use for your Countdown.
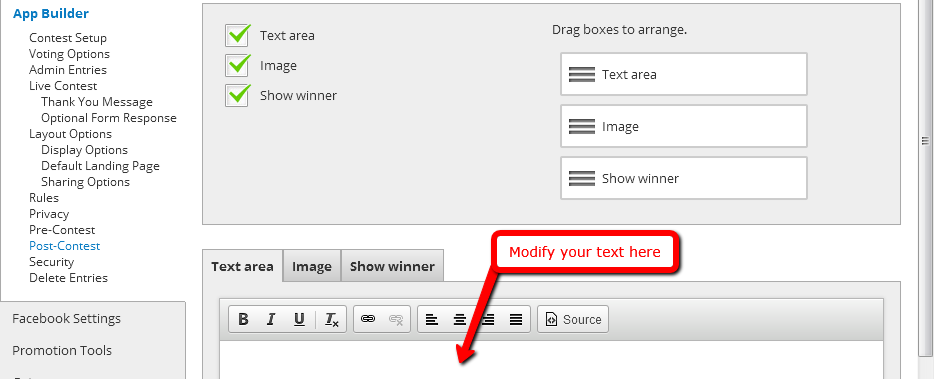
In terms of the Post-Contest sub-setting, just customize the texts in the Text area.
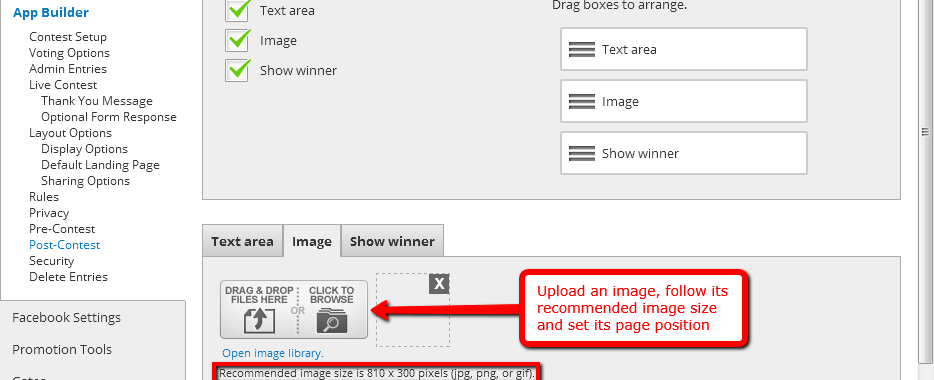
Upload an 810 x 300 pixel image for the Image tab
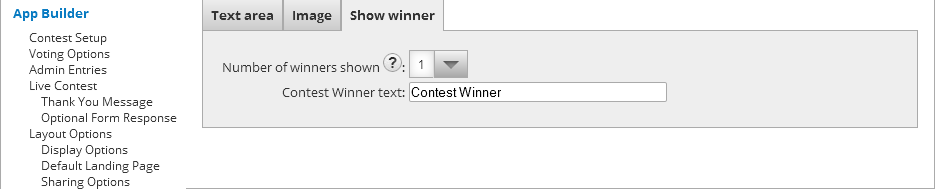
Customize the Contest Winner text as well as the number of winners you want to display. This is valuable if you want to showcase multiple winners. They will display from left to right in order of most votes.
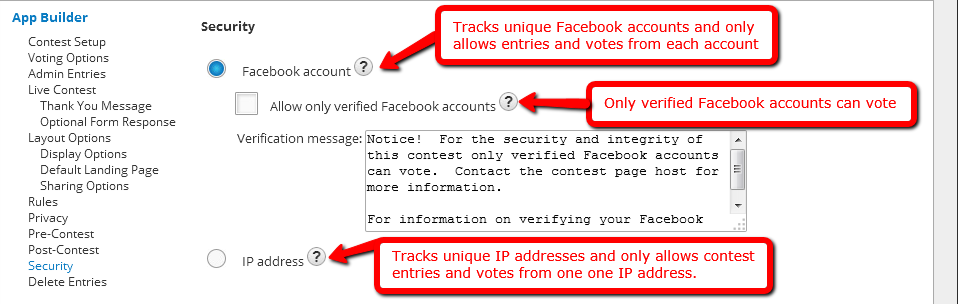
In terms of the Security sub-setting, select from the two choices you want to give attention to. These choices are Facebook account and IP address.
The Facebook account option tracks unique Facebook accounts and merely permits contest entries and votes (per your voting options) from each Facebook account. There is a mini-option for the Facebook account to “Allow only verified Facebook accounts”. For added security, you can enable this option so that only verified accounts can vote (This option does not affect restriction on entering the contest). The feature prevents “vote-buying” from taking place by fake Facebook profiles that have been purchased to vote for an entry. This does force that any account has gone to Facebook’s verification process which requires adding a mobile number to the account, receiving a text message, and then entering this code to verify.
In this section, you can easily delete your entry form data.
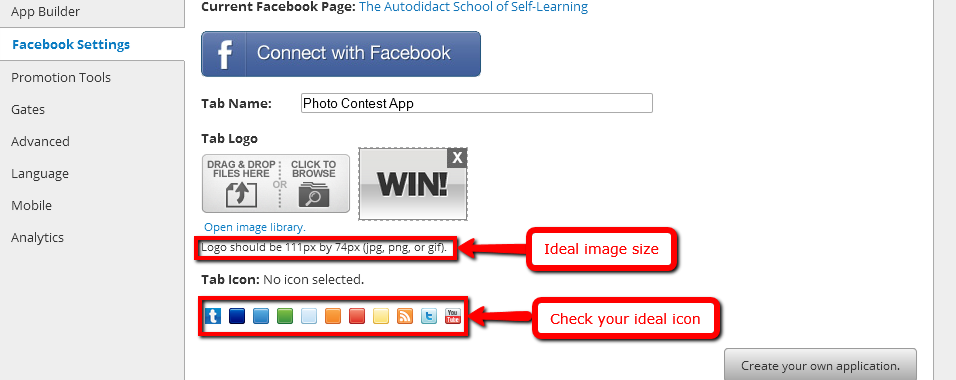
With the help of the Facebook Settings, you will be able to publish your app to a Facebook Page on a tab. You'll just have to connect your Facebook fan page to this app, specify your tab name, 111 x 74 pixel logo and icon.
There is a button in the lower-right portion of the page called Create your own application which does what its name says. After creating the app, you'll be required to enter the App ID and App Secret on their respective blank fields.
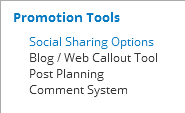
The Promotion Tools section is the third setting from the list. It is consist of four sub-settings namely Social Sharing Options, Blog/Web Call-out Tool, Post Planning and Comment System.
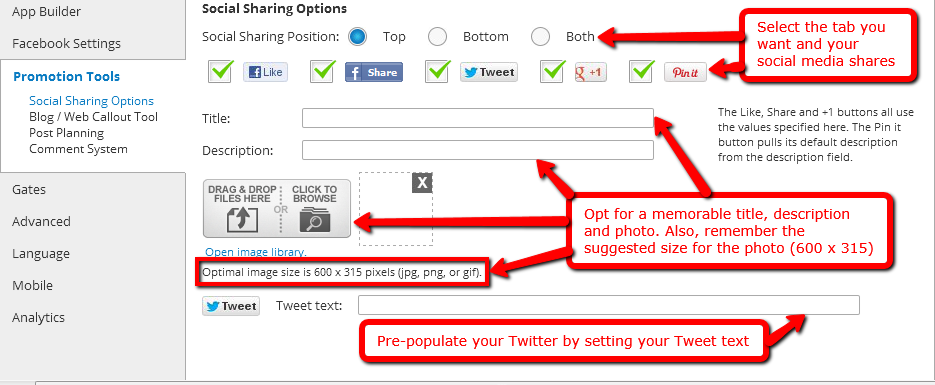
The first sub-setting for the Promotion Tools is the Social Sharing Options. In this page, you'll be able to set the Social Sharing messages you want to spread out to your other social media networks such as Facebook, Twitter, Google+ and Pinterest. Decide whether where you want it to be displayed on the screen: top, bottom or both. Decide on your tab title and description; make them as creative and attention-grabbing at the same time. Also, don't forget to write down your desired tweet text on the input field below.
The Blog/Web Call-out Tool lets your fan page obtain a lot of traffic via a promotional call-out. All you need to do is upload a photo and then, we will give you an embed code you can utilize to place the call-out image to your personal blog or to other sites. When visitors click this image, they will be forwarded to your Facebook tab. Note: This feature is offered to Platinum level users only.

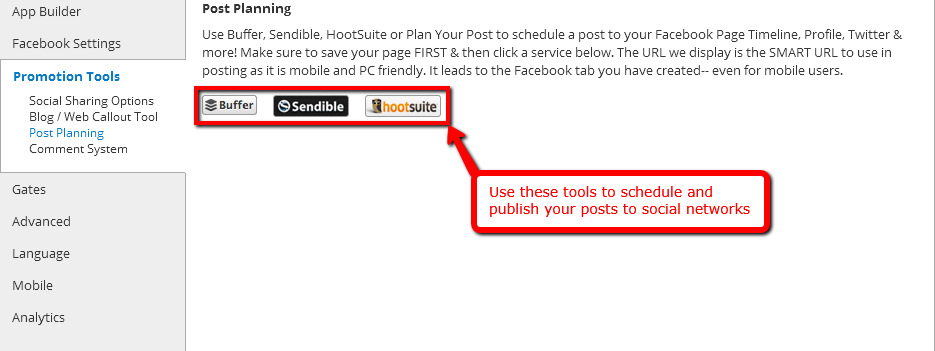
The Post Planning sub-setting allows you to schedule as well as publish your posts to social media sites. We offer three types of scheduling services specifically Sendible, Hootsuite and Buffer. We use the SMART URL when displaying since it is mobile and PC friendly. It forwards your visitors to your created Facebook tab.
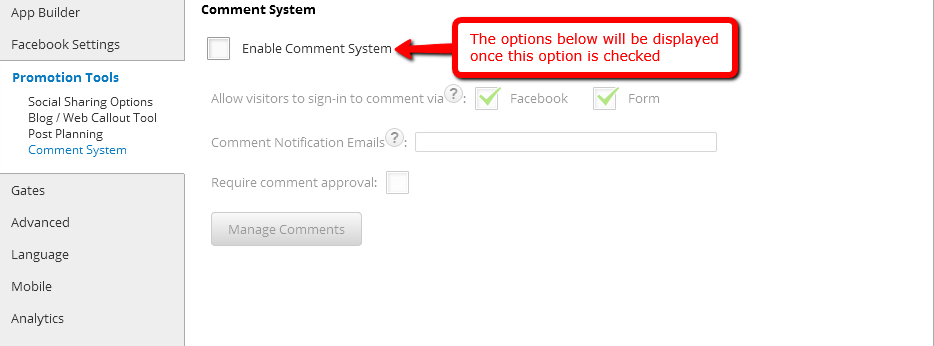
The last sub-setting for Promotion Tools is the Comment System. You will need to click the Enable Comment System check box first before you can gain access to the options located below.
The first of these options is the "Allow visitors to sign-in to comment via" which gives you two options for signing-up before posting any comment; either on Facebook or on a Form. Meanwhile, the "Comment Notification Emails" option lets you add the email addresses you want to notify for new, posted comments. Lastly, the "Require comment approval" check box gives you the power to approve or reject the submitted comments. Underneath, there is a gray button called Manage Comments which exactly does what its name says.
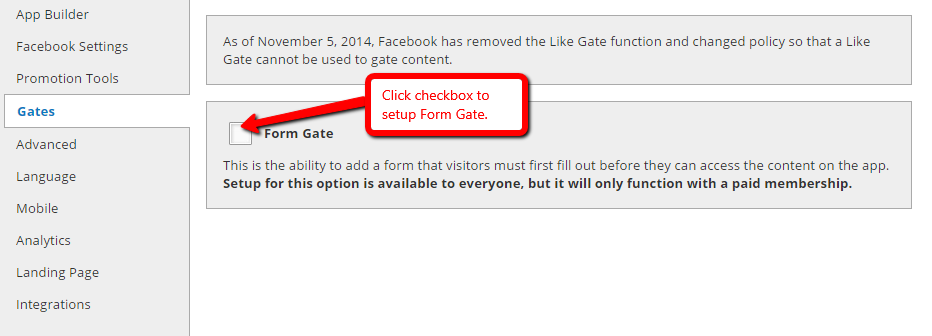
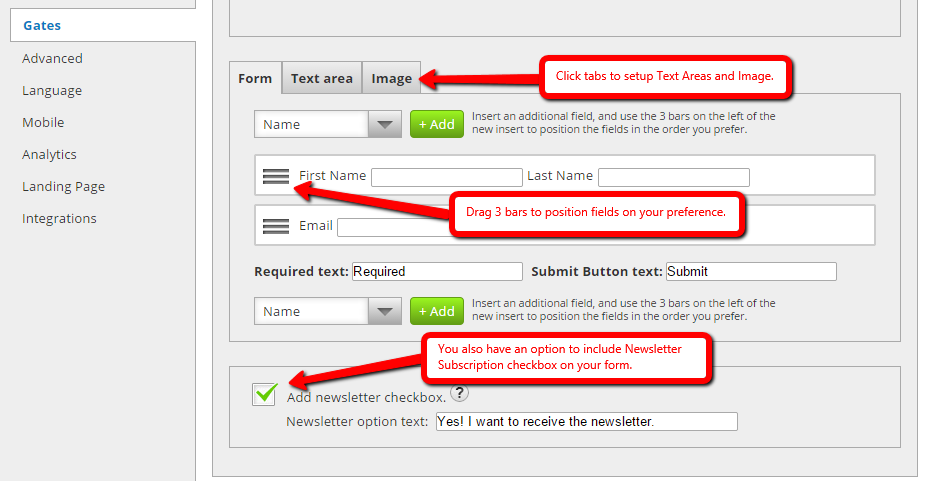
The Gates setting allows a visitor checking tool which determines if a visitor is a fan or not.
Form Gate is a simple form that users must complete and submit in order to access your app content.

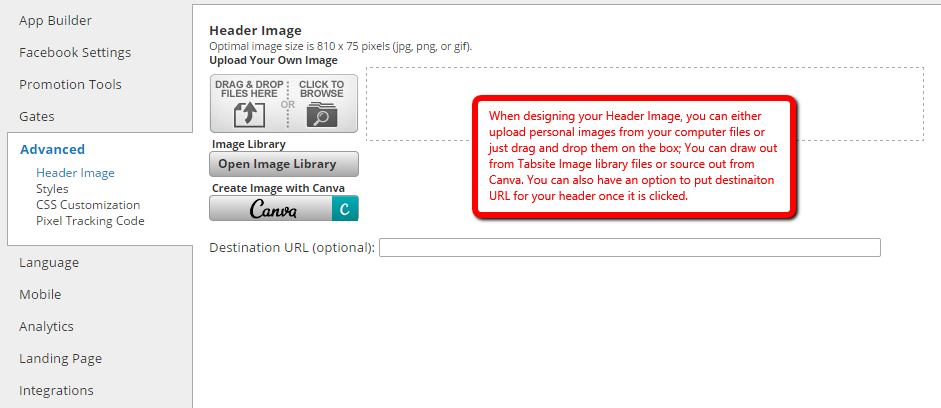
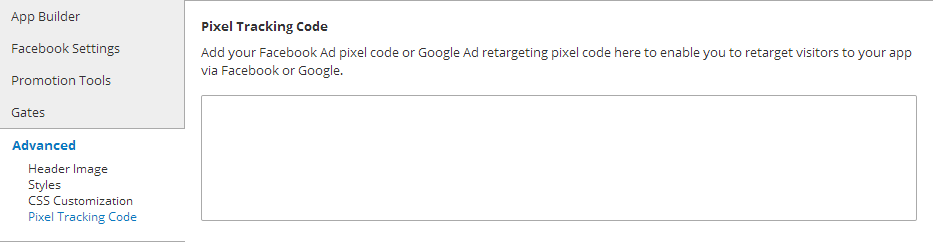
The Advanced setting helps you modify your tab's header image, styles CSS and Pixel Tracking Code. Upload an image first having a size of 810 x 75 pixels.
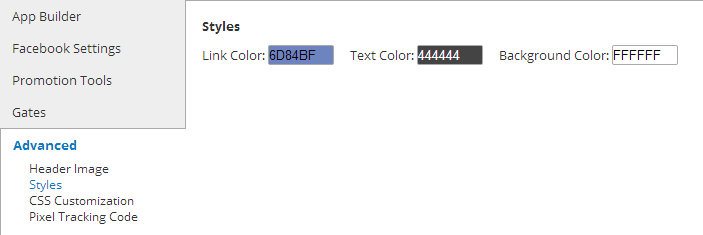
The Tab Styles section enables you to modify your preferred Link Color, Text Color and Background Color. A color-selecting window pops-up the screen every time you modify each one of these features.
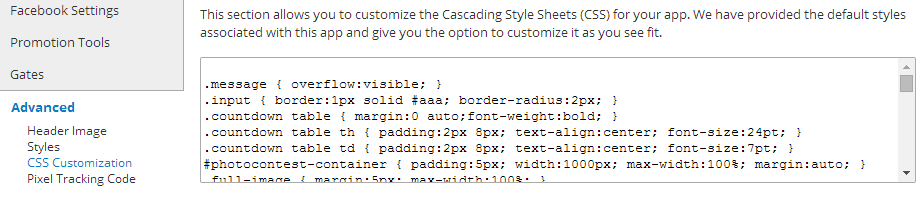
You can also customize your app's CSS by using the provided default styles combined with it.
Another feature to help you with marketing is to implement remarketing pixels! We have a Pixel Tracking code area for Facebook and/ or Google Ads. By installing the pixel code from those services, you are then able to target visitors to your promotion back on that service with ads. Simply paste the pixel tracking code that they provide.
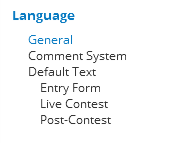
In terms of the Language settings, it is comprised of three sub-settings specifically General, Comment System and Default Text.
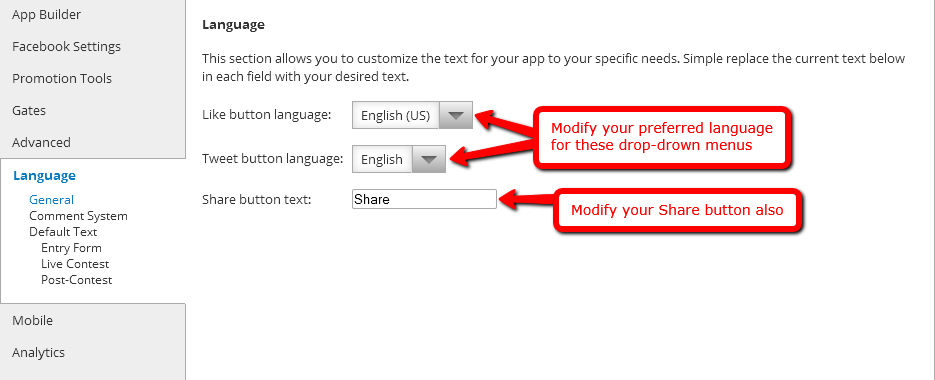
The General sub-setting for Language contains two drop-down menus. They are the "Like button language" and "Tweet button language". Both of these menus comprise a list of the several languages we offer, just choose the one you like. Also, you can modify the default Share button text if you like.
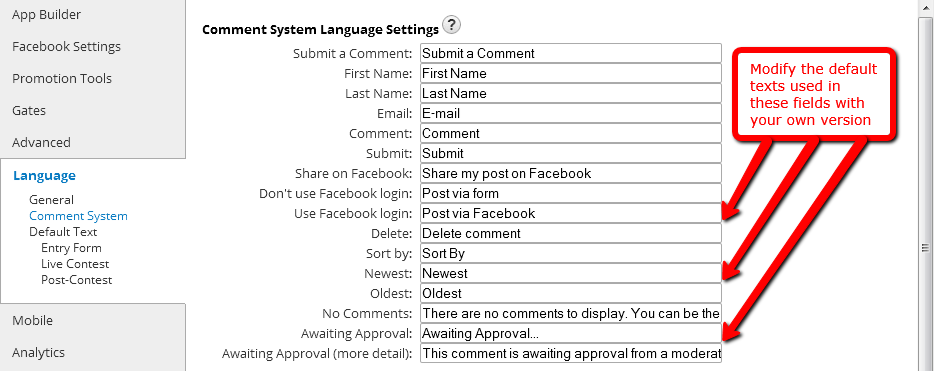
The Comment System Language Settings is composed of various input information to fill-in and error message alerts:
This allows Admins to completely change the language to be other than English.

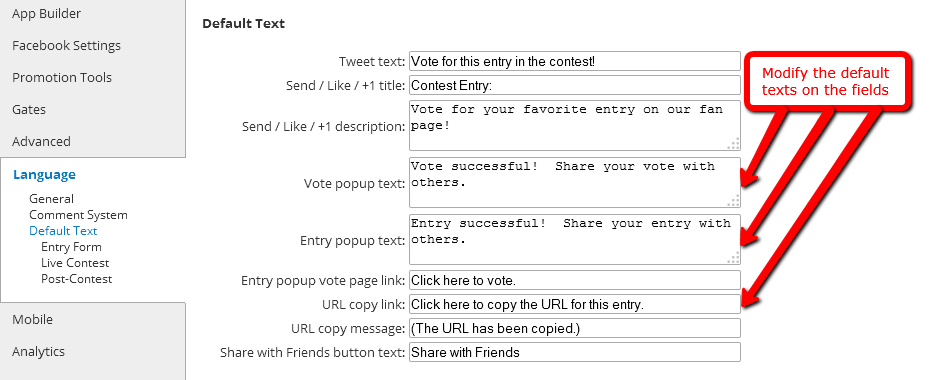
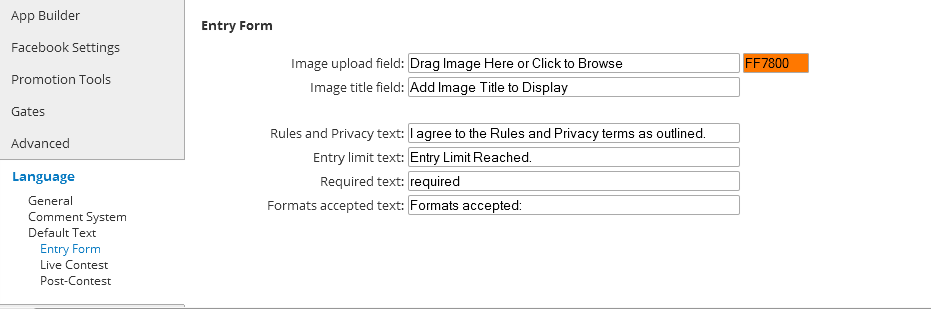
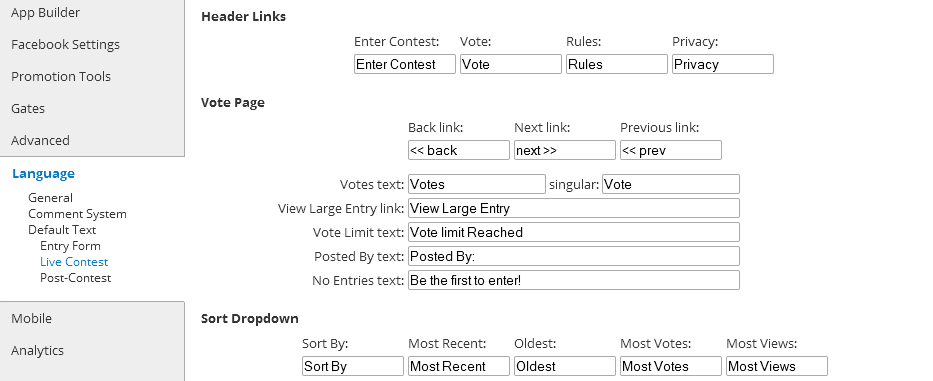
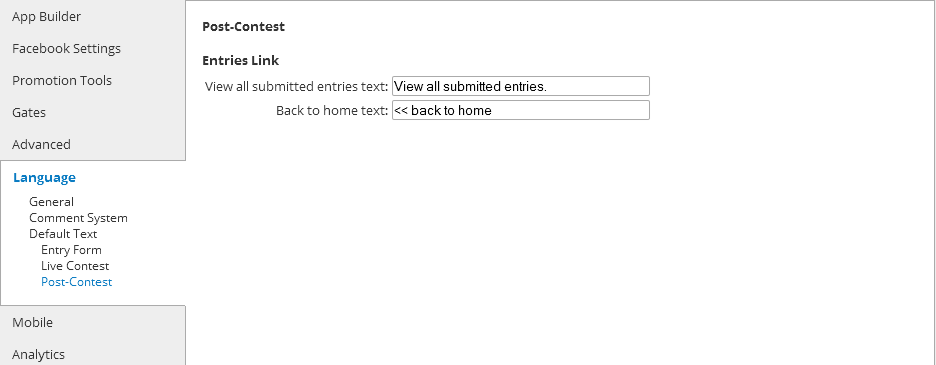
Just like what you did to your General and Comment System sub-settings, simply modify the texts of your Default Text along with its mini-sections specifically the Entry Form, Live Contest and Post-Contest.

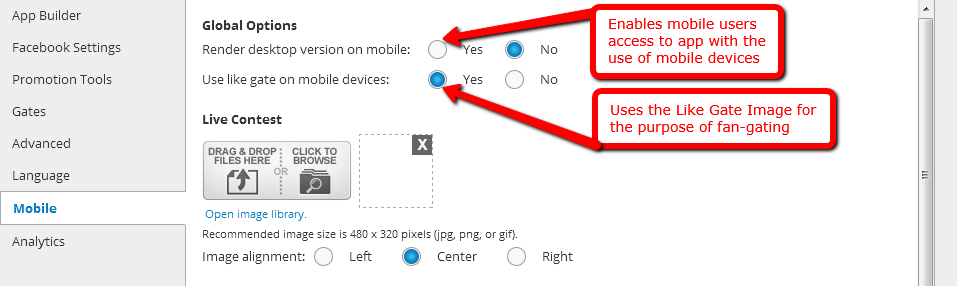
The seventh setting is the Mobile setting. It consists of Global Options which is answerable by either yes or no. These are "Render desktop version on mobile" and "Use like gate on mobile devices." This gives the option to display a mobile friendly alternative version of the app content to mobile users or display the same information. Note: Not all apps have a mobile difference.
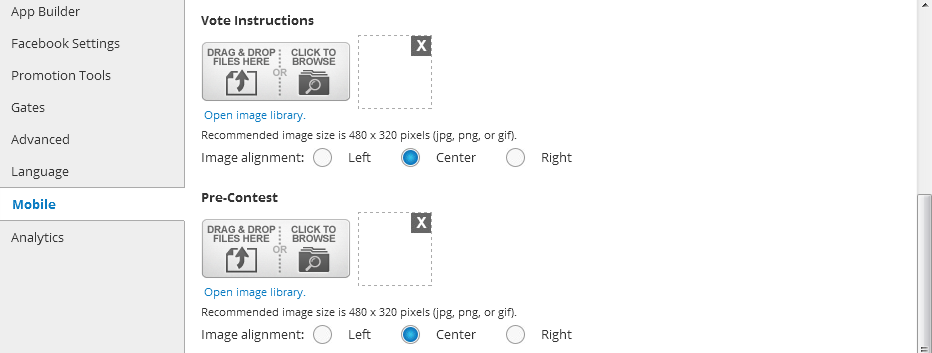
It also has the added options like “Vote Instructions”, “Pre-Contest” and “Post-Contest”. All you have to do is upload a corresponding image to each of these sections (follow the recommended image size) and assign its alignment.

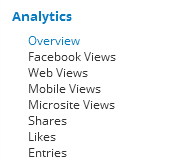
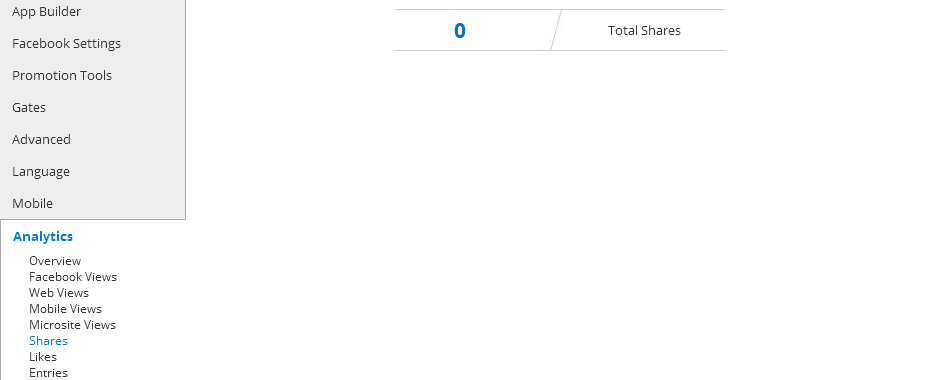
The Analytics setting is the last one on the list. It has various graphs that display the amount of traffic entering the site coming from different sources. These graphs are composed of Overview, Facebook Views, Web Views, Mobile Views, Microsite Views, Shares, Likes and Entries.
Overview graph

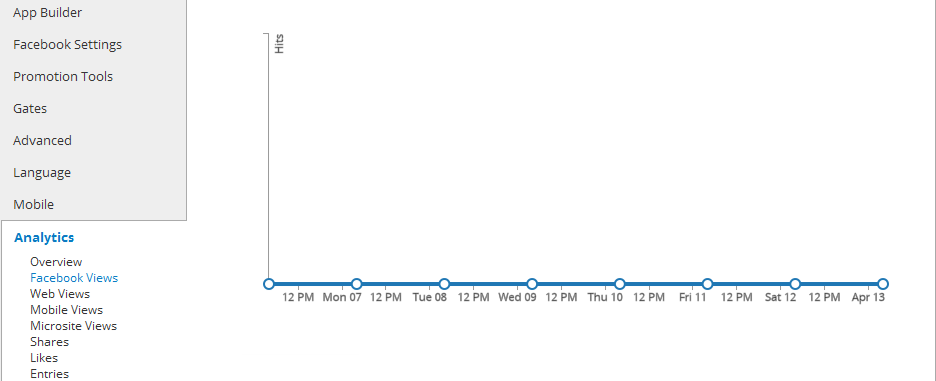
The graphs of the Facebook Views, Web Views, Mobile Views and Microsite Views look like these.
The amount of Shares, Likes and Entries can be viewed in this format.
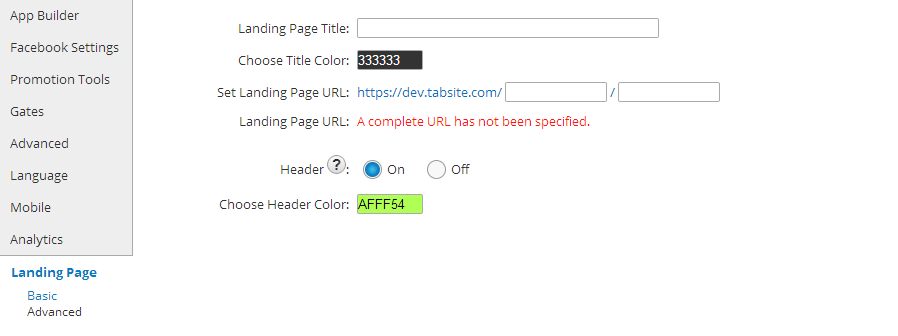
Landing Pages are a powerful feature allowing you to create lead capture pages using any app.
Create your own landing page directory name for your use on any landing pages. You create a name specific to your business such as https://tabsite.com/mybusiness/summerpromo (where "mybusiness" is your business name and the landing page is "summerpromo".)
Landing pages are the perfect area to drive traffic to in order to create more leads. Any app can have a Landing Page.
You may also change the title and header font color.
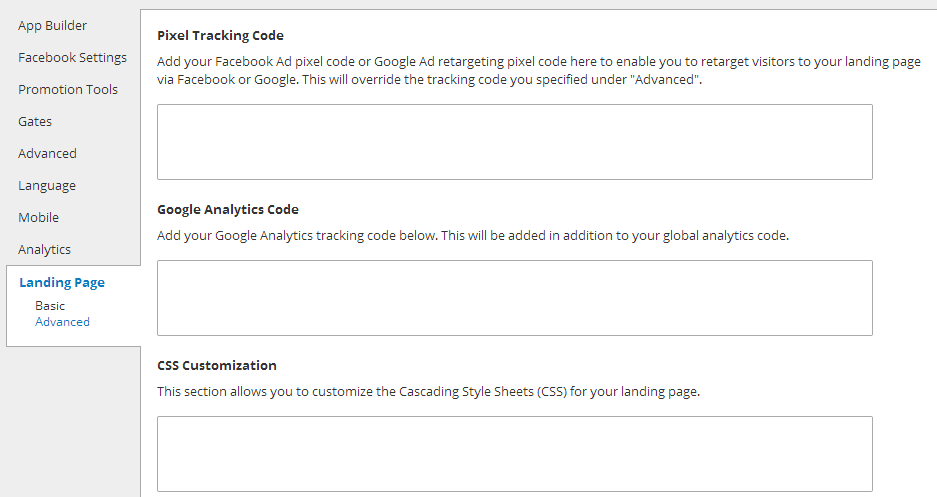
We give you the option to place the Pixel Tracking code for Facebook Ad's and/or Google Ad's on your landing page. This allows you to retarget/remarket to visitors via ads on those services.
In addition, we also offer CSS control for advanced styling of your Landing page as well to use if desired.
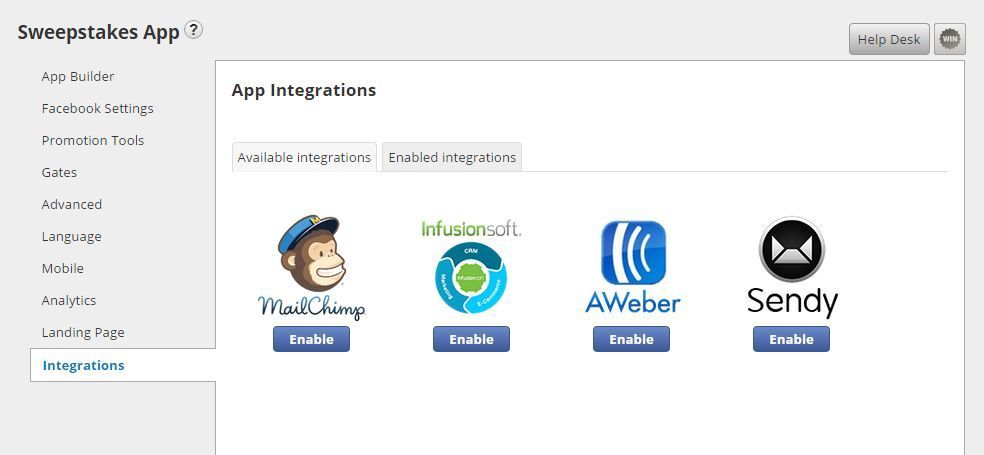
Integrations:
The "Integrations" area offers options for connecting forms to other services like Mailchimp, Infusionsoft, AWeber and Sendy.
See full details on the Mailchimp integrations here with steps for setup so that your form data is automatically added to your service provider.
See full details on the Infusionsoft integrations here
See full details on the AWeber integrations here
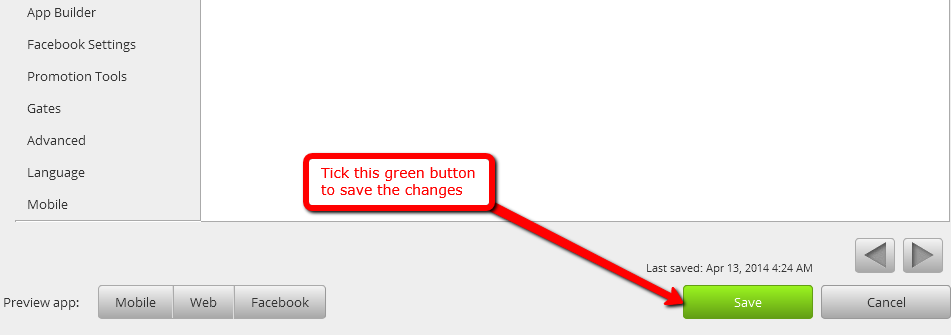
Remember to save all the changes that you have done to the settings by clicking the "Save" button below.
After clicking the Save button, you will be forwarded to the My Apps tab. All of your created apps are placed in this page. You can add another app, test it and publish it consistent with the features of your Plan.
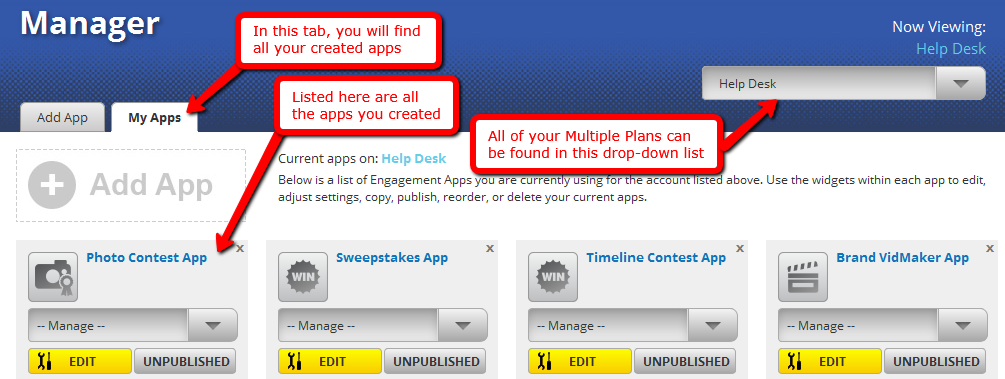
Tick the "Publish" button to go through the procedure of placing your app to Facebook or in your website.