PhotoShop Engagement App
Key Features:
- Ability to add multiple images to create a beautiful slideshow of images.
- Set the images to automatically begin rotating or set for manual rotation.
- Customize your Social Sharing messages to help fans spread your tab link via social media
- Ability to Pin (Pinterest) each image in the slideshow!
- Gold and Platinum users can add a Like Gate image for fan gating
- All users are offered the Smart Url to use in posting to Facebook, Twitter, and the web which detects browser and will show mobile users a mobile friendly version of the Facebook tab!
How to create a PhotoShow App?
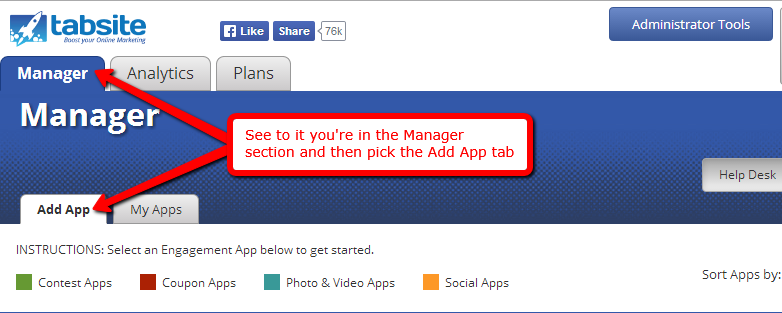
To begin with, see to it that you're in the Manager section then select the Add App tab
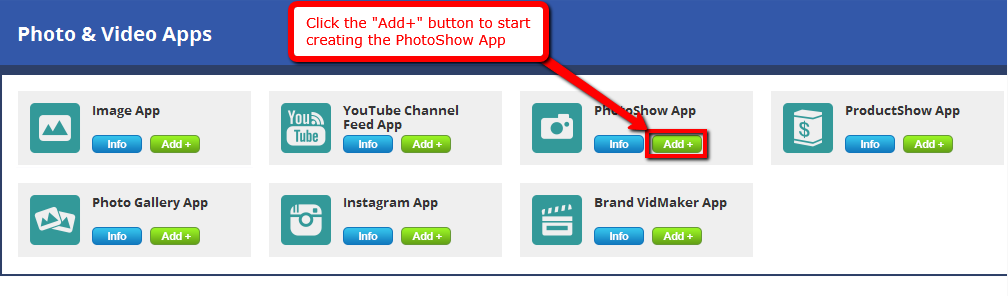
Next, scroll down to the section called the Photo & Video Apps. Locate for the PhotoShow App and click the Add+ button to create the app
NOTE: Canva is now integrated in TabSite to allow you to custom template images in your app! Use Canva's or create your own by clicking the Canva button. Read more here.
The page will forward you then to the App Builder Page. In this page, you can upload all the images you would like to display in your photoshow. Be reminded that the recommended image size is 793 x 446 pixels in any of the following format: jpg, png or gif. There are additional options which enable you to have an Autoplay action for your photoshow. On the other hand, the Show thumbnails option lets you have a row of thumbnail images beneath the main image you are viewing. You can also set the rotation speed for each of your image. Change the order of the images by dragging them to your desired order. To include a title, caption, URL and a link with the Buy Now button, simply click the pencil icon.

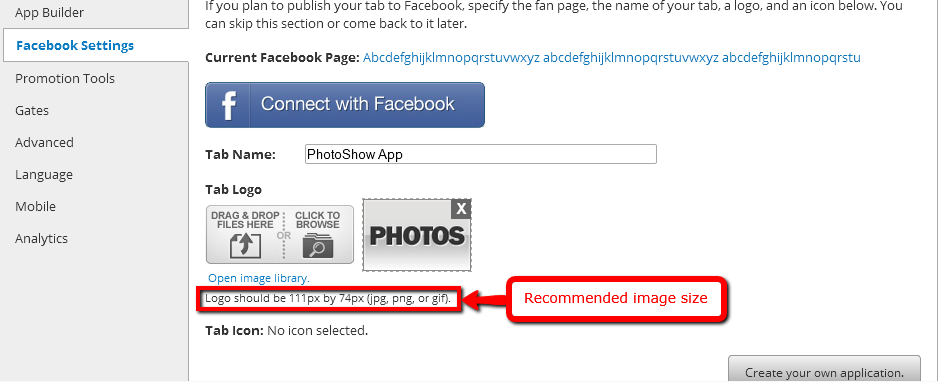
The next section is Facebook Settings in which you can publish your tab to Facebook. Simply state your FB fan page, tab name and a 111 x 74px logo. The Create your own application button allows you to enter your App ID and App Secret on the blank fields provided.
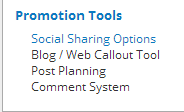
To prepare your app for sharing, just customize the options found in the Promotion Tools section. These tools include Social Sharing Options, Blog/Web Callout Tool, Post Planning and Comment System.
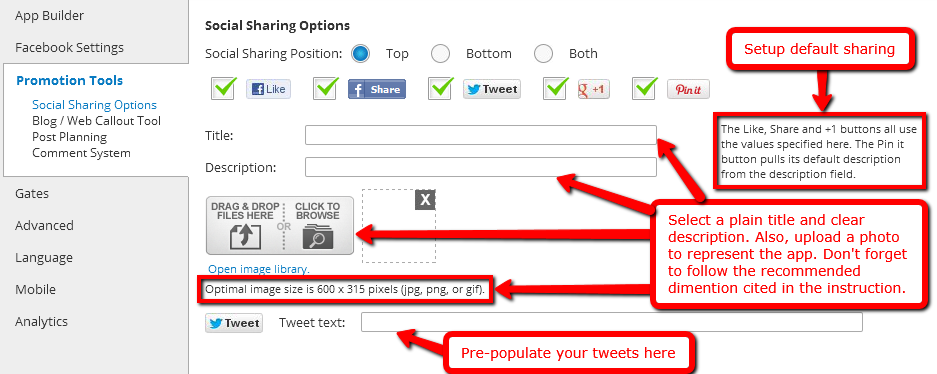
The first sub-setting found in the Promotion Tools section is Social Sharing Options. In connecting with the social media platforms listed in the page, just customize your app. The offered sites in the list include Facebook, Twitter, Google+ and Pinterest. It is up to you whether you want the placement of your app in the top, bottom or both sections.
Take in-charge of the activities of the social networks you are linked to, as the site administrator. You can activate the functions of each social network specifically the Like and Share button of Facebook, tweets of Twitter, +1 of Google+ and Pin it of Pinterest.
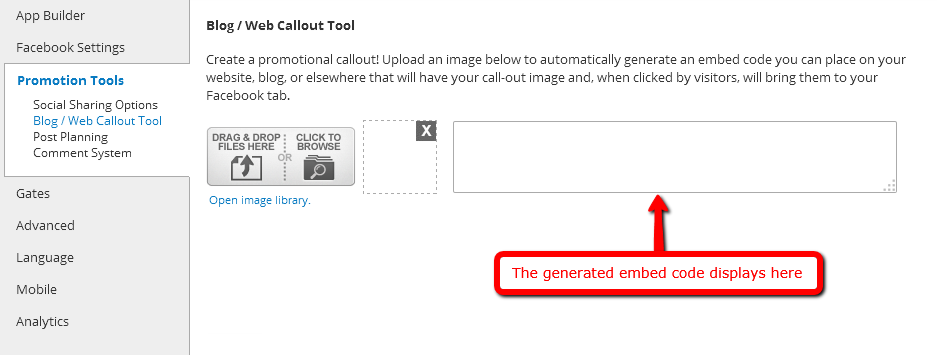
An effective tool in driving added traffic to your website would be a promotional call-out. Upon uploading an image, an embed code will be automatically-generated to be placed on your website, blog or any other sites. The visitors who are clicking your call-out image will be forwarded to your tab on Facebook.
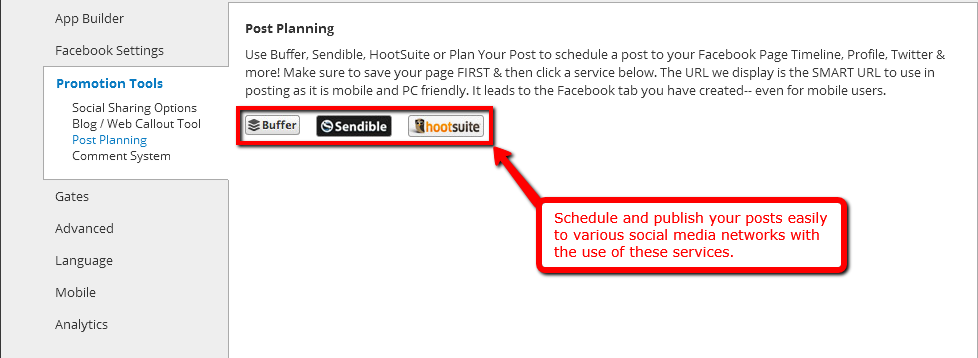
The Post Planning sub-setting offers 3 kinds of scheduling services - these services comprise Sendible, Hootsuite and Buffer. It uses the SMART URL when displaying a shorter URL version due to the fact that they are more PC and mobile-friendly. It directs the users to your created tab on Facebook. Take in mind to save your page first prior to choosing one of the services mentioned earlier.
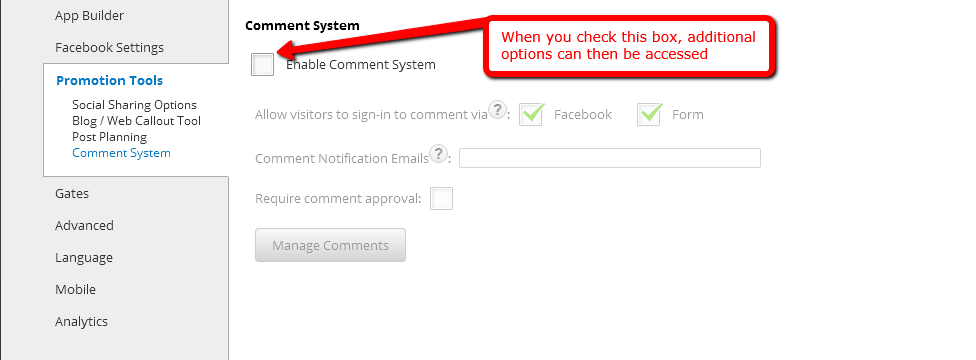
The Comment System is the last sub-setting of the Promotion Tools section. When the "Enable Comment System" checkbox is ticked, the added options will appear specifically "Allow visitors to sign-in to comment via Facebook or Form", "Comment Notification Emails" and "Require Comment Approval." Just like what its name states, the gray Manage Comments button enables you to execute this task.
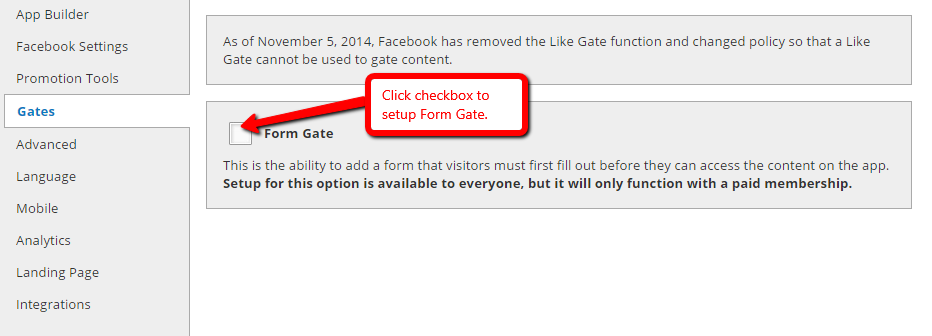
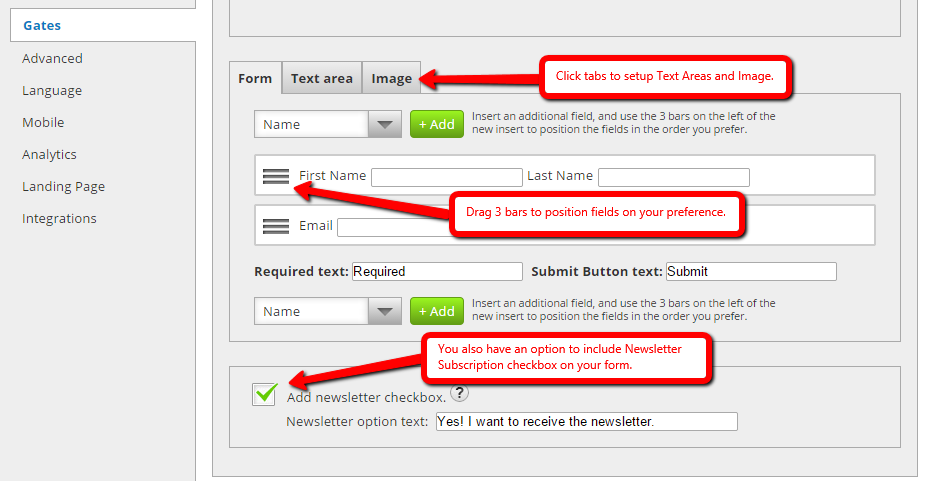
Form Gate is a simple form that users must complete and submit in order to access your app content.

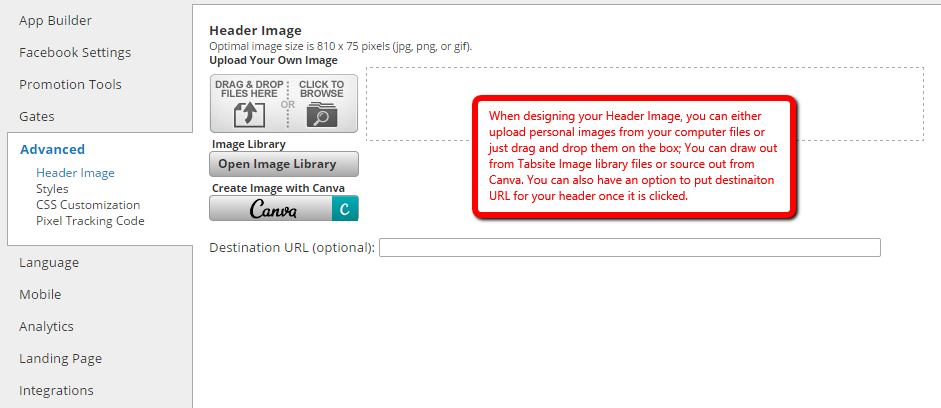
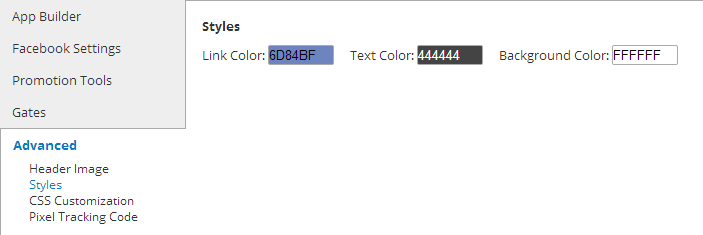
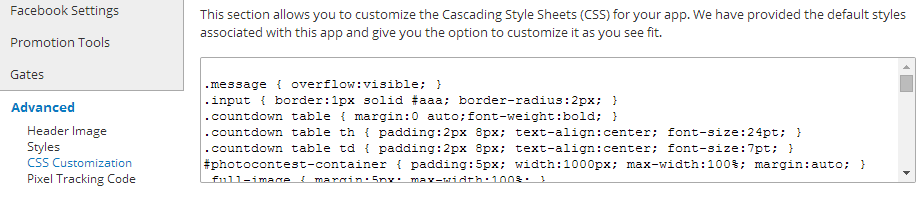
The sixth setting is known as Advanced. You are able to upload a 810 x 75 header image, modify the color of your link, text and background. Additionally, you can customize the CSS for your app with the provided default styles associated with it.
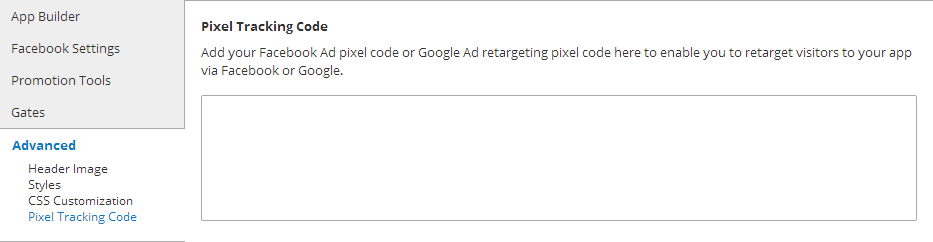
Another feature to help you with marketing is to implement remarketing pixels! We have a Pixel Tracking code area for Facebook and/ or Google Ads. By installing the pixel code from those services, you are then able to target visitors to your promotion back on that service with ads. Simply paste the pixel tracking code that they provide.
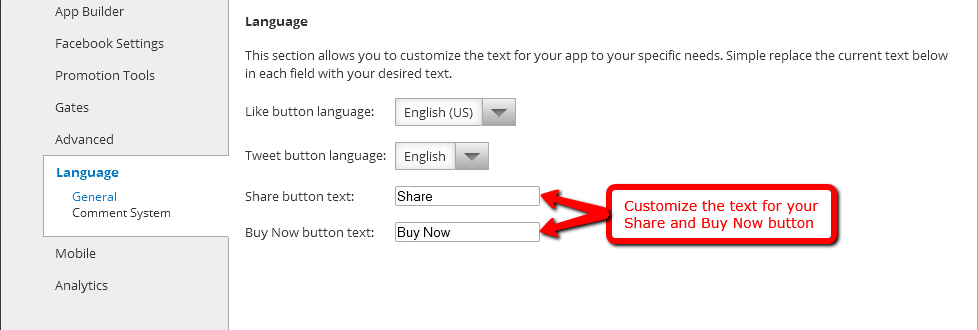
There are two sub-settings that comprise the Language section, the General and Comment System.

Customize the text of your app to your specific needs with the help of the General section. It is composed of two drop-down menus specifically "Like button language" and "Tweet button language" in which you can modify your preferred app language. Customize the text provided in the fields for the Share and Buy Now buttons as well.
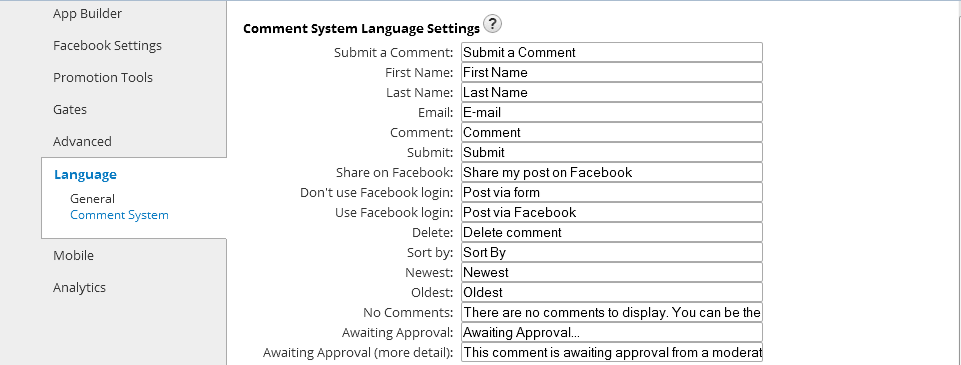
The "Comment System Language Settings" and "Errors" make up the Comment System sub-setting. You can modify your preferred texts for your language system and save them later.
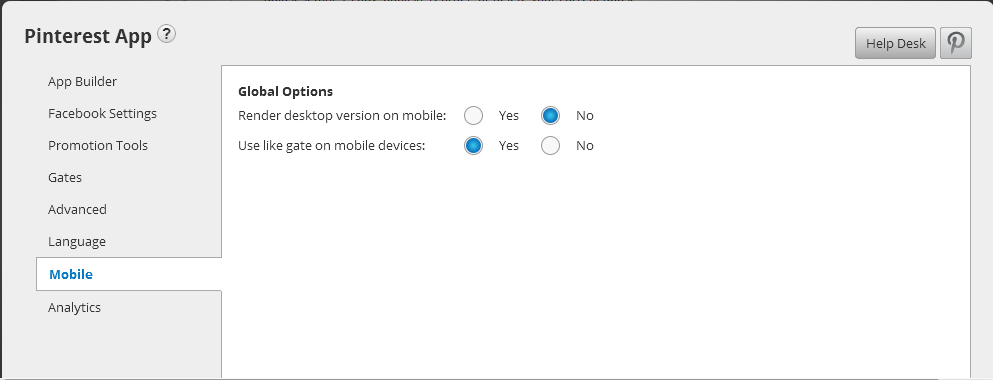
The next setting is called Mobile. It has Global Options which consist of "Render desktop version on mobile" and "Use like gate on mobile devices." These options enable mobile users to access the content app in a mobile-friendly alternative version or show the similar information. Note: Not all apps have a mobile difference.
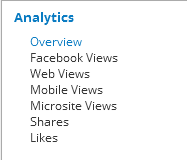
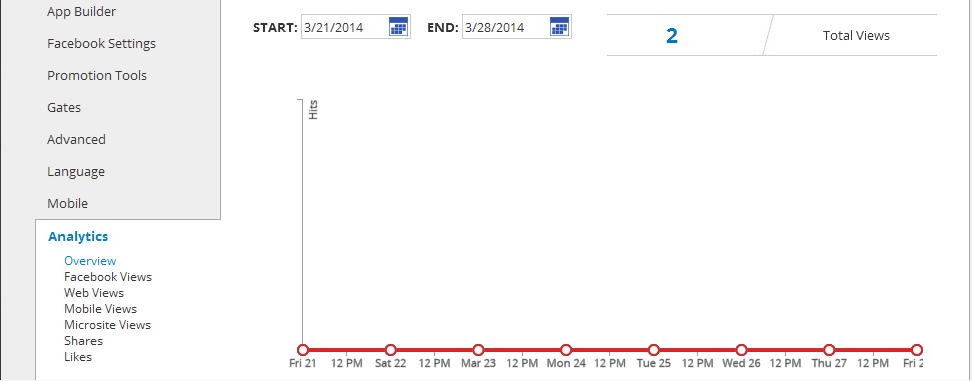
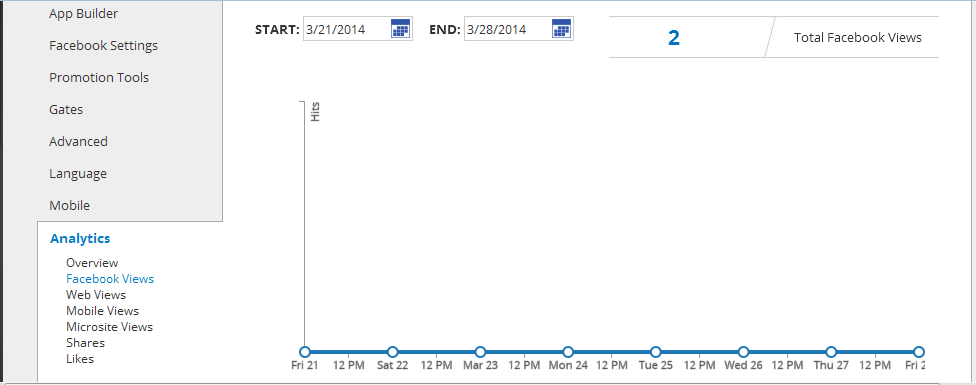
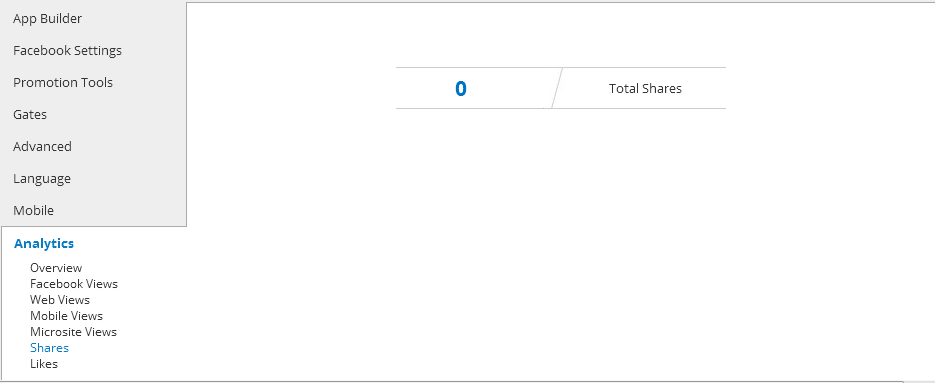
The Analytics section consists of several graphs of the PhotoShow Apps. These graphs consist of Overview, Facebook Views, Web Views, Mobile Views, Microsite Views, Shares and Likes. It provides you information regarding the current impact of the app traffic and where it is coming from.
The Overview graph
The graphs of Facebook Views, Web Views, Mobile Views and Microsite Views
The graphs of Shares and Likes
Landing Pages are a powerful feature allowing you to create lead capture pages using any app.
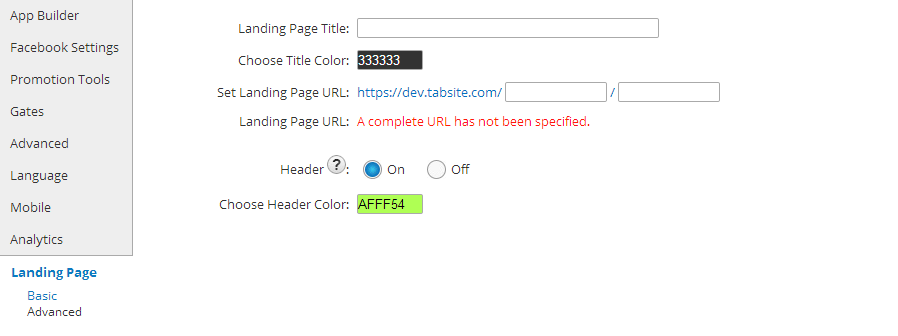
Create your own landing page directory name for your use on any landing pages. You create a name specific to your business such as https://tabsite.com/mybusiness/summerpromo(where "mybusiness" is your business name and the landing page is "summerpromo".)
Landing pages are the perfect area to drive traffic to in order to create more leads. Any app can have a Landing Page.
You may also change the title and header font color.
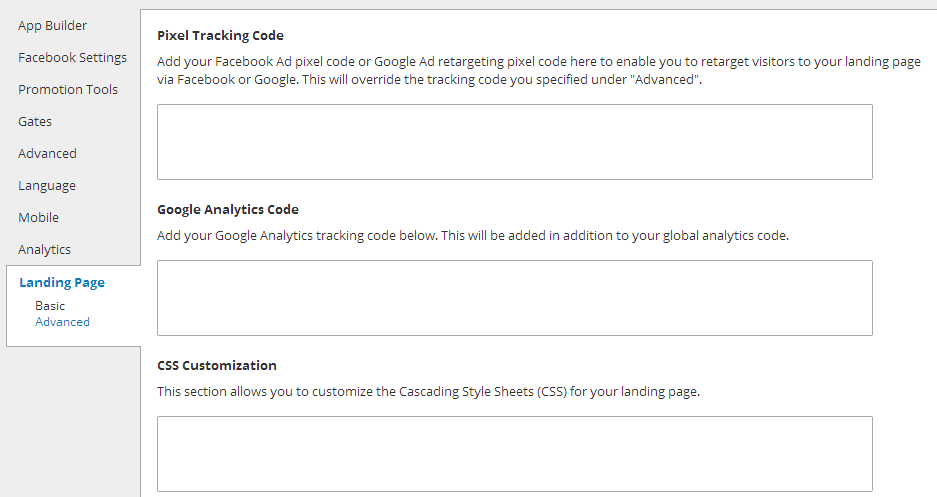
We give you the option to place the Pixel Tracking code for Facebook Ad's and/or Google Ad's on your landing page. This allows you to retarget/remarket to visitors via ads on those services.
In addition, we also offer CSS control for advanced styling of your Landing page as well to use if desired.
Integrations:
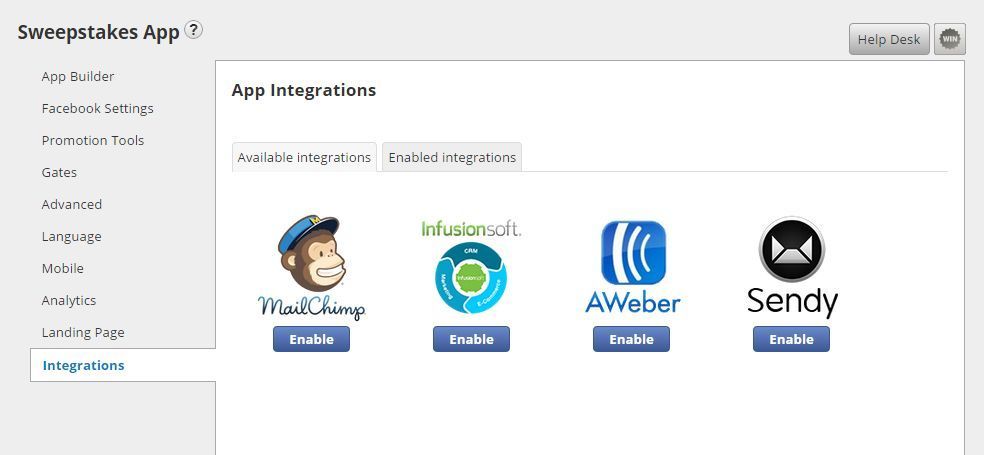
The "Integrations" area offers options for connecting forms to other services like Mailchimp, Infusionsoft, AWeber and Sendy.
See full details on the Mailchimp integrations here with steps for setup so that your form data is automatically added to your service provider.
See full details on the Infusionsoft integrations here
See full details on the AWeber integrations here
The moment you have finished editing all the settings for your PhotoShow App, just click the green "Save" button.

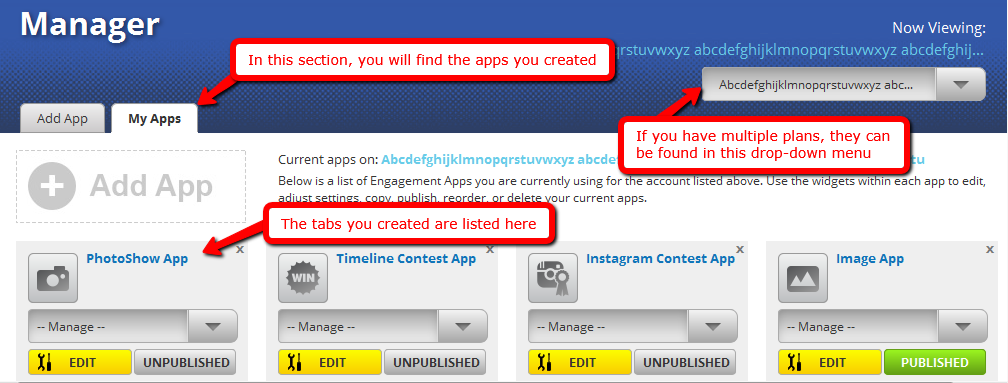
When all of the settings have been saved, the page will forward you to the My Apps tab. In this area, you will see the list of apps you have already created for the Tabsite Plan. You will be able to create and test any app and eventually, publish them in relation to the features of your Plan.
To go through the details of publishing your app to Facebook, your blog or to any website, simply click "Publish".